
To edit drone videos for stunning aerial films, start by choosing user-friendly software with stability features and cloud options for easier access and backups. Organize your clips with clear filenames and folders, then review and select the best shots, trimming and enhancing for clarity. Add smooth progressions and effects sparingly, synchronize music and sound effects, and apply color correction for a cinematic look. If you keep exploring, you’ll discover tips to turn your footage into professional-quality videos.
Key Takeaways
- Use software with robust stabilization, color correction, and seamless transition features designed for aerial footage.
- Organize clips with descriptive filenames and metadata to streamline editing and scene selection.
- Focus on smooth pacing and timing by syncing cuts and effects with music and scene shifts for a professional flow.
- Apply subtle color grading and effects to enhance visual consistency without overdoing it.
- Export in high-quality formats optimized for sharing across platforms, ensuring clarity and professionalism.

DJI Neo Drone with Camera for Adults Self Flying Mini Drone Stabilized Video, Built-In Propeller Guard
【1-INCH IMAGE SENSOR】Equipped with a 1-inch image sensor and large 2.4μm pixels, DJI Air 2S is capable of…
As an affiliate, we earn on qualifying purchases.
As an affiliate, we earn on qualifying purchases.
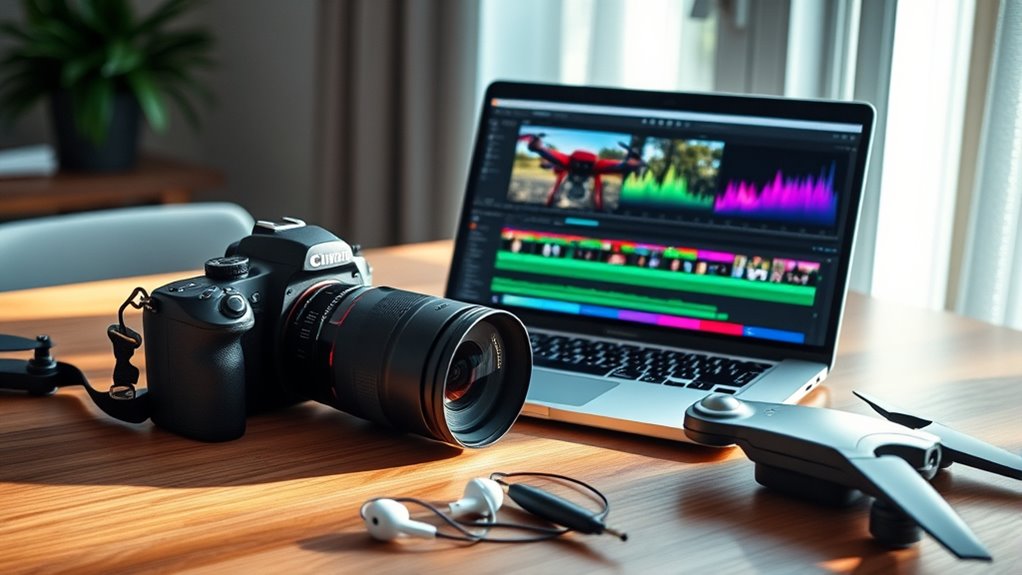
Choosing the Right Editing Software for Drone Footage

Selecting the right editing software is essential for transforming your drone footage into stunning videos. Look for programs that offer robust video stabilization features to smooth out shaky footage, ensuring professional-looking results. Cloud based editing options are also worth considering, as they let you access your projects from anywhere and collaborate easily with others. These platforms often provide automatic backups and seamless sharing, saving you time and reducing stress. Make sure the software supports your camera’s file formats and has a user-friendly interface, especially if you’re just starting out. Prioritize tools that combine stability features with cloud based workflows, so you can efficiently enhance your aerial footage without technical hurdles. Incorporating connected equipment and apps can further streamline your workflow and improve your editing experience. Additionally, choosing software that leverages European cloud servers can enhance data security and reduce latency during your editing process. Also, consider options that include video stabilization to automatically correct shaky footage, making your videos look more professional. Ensuring compatibility with different file formats can prevent frustrating delays and allow for smoother editing. Choosing the right software sets the foundation for creating compelling drone videos.

Clipchamp Video Software User Guide: The Ultimate Manual for Mastering Professional Editing with Ease (Video Editing Essentials)
As an affiliate, we earn on qualifying purchases.
As an affiliate, we earn on qualifying purchases.
Organizing and Importing Your Raw Clips
Have you ever struggled to find specific clips in a cluttered project folder? Effective file organization makes importing smoother and saves time later. Start by creating labeled folders for different locations or scenes, keeping your raw footage tidy. Use consistent naming conventions to help identify shots easily. When importing, manage metadata carefully—add tags like date, location, or shot type to streamline future searches. Consider these tips:
Organize your footage with clear folders, consistent names, and detailed metadata for efficient editing.
- Create a dedicated folder structure for your clips
- Use descriptive filenames with dates and keywords
- Update metadata immediately after import
- Incorporate metadata management techniques to enhance searchability and organization, which can be supported by file tagging systems and other tools.
Additionally, implementing project organization strategies can significantly improve your editing workflow by reducing clutter and confusion. This includes applying file naming conventions to maintain clarity and consistency throughout your project. Proper file organization and metadata management are essential for a smooth workflow, especially when working with large drone footage libraries.

DJI Mini 3 Fly More Combo (DJI RC), Drones with Camera for Adults 4K, 3 Batteries for 114-min Flight Time, Vertical Shooting, 32800ft (10km) Video Transmission, Lightweight Mini Drone for Beginners
No Registration Needed – Under 249 g, FAA Registration, and Remote ID are not required if you fly…
As an affiliate, we earn on qualifying purchases.
As an affiliate, we earn on qualifying purchases.
Reviewing and Selecting the Best Shots
Once you’ve imported and organized your footage, it’s time to review your clips to identify the best shots. Focus on shot composition to guarantee each clip captures your subject effectively, with framing that highlights the scene’s key elements. Look for shots with good shot stability, avoiding shaky footage that can distract viewers. As you watch, note clips that showcase smooth movement and clear visuals. Pay attention to how well each shot maintains focus and how the composition guides the viewer’s eye. Select the clips that best tell your story and display professional shot stability. Eliminating shaky or poorly composed footage early saves time during editing and sets a strong foundation for creating a stunning aerial film. Additionally, assessing your footage for shot stability can help ensure your final video appears polished and professional, especially when emphasizing support breakfast environments like cozy accommodations or scenic gardens. To further improve your editing process, consider using tools that automatically detect passive voice, ensuring your narration remains clear and engaging. Incorporating color correction techniques can also enhance the visual appeal and consistency across your clips. Moreover, paying attention to quality assessment can help you select the highest caliber shots, contributing to a more refined final product.

Newbeedrone Portable Drone Tool Kit Set: Come With Soldering Iron Storage Bag Prop Tool Screwdriver AIO Hex Driver Tweezers Cutter Solder Practice Board For FPV Drone FPV Starters RC Car Airplane
Muti-functional RC Tool Set: This highly integrated tool kit includes almost everything you need in the field, especially…
As an affiliate, we earn on qualifying purchases.
As an affiliate, we earn on qualifying purchases.
Basic Editing Techniques to Enhance Your Video
To make your drone footage more engaging and polished, start by applying basic editing techniques like trimming unwanted segments, adjusting brightness and contrast, and sharpening your clips. These steps help improve visual clarity and keep viewers focused. Remember to prioritize drone safety and legal considerations—avoid flying over private property or restricted areas, and ensure your shots comply with regulations. To enhance your video further, consider these techniques:
- Crop footage to improve framing and focus
- Correct color balance for a natural look
- Use sharpening tools to add detail
- Be aware of legal regulations governing drone use in your area. Additionally, understanding firewood handling can help you ensure your drone operations are safe around woodpiles or wooded areas, minimizing potential hazards. These simple edits make your aerial videos more professional and enthralling while respecting safety and legal boundaries.
Adding Transitions and Effects for a Professional Look

To give your drone videos a polished feel, focus on seamless change techniques that keep viewers engaged. Choosing the right effects and knowing when to use them can enhance your storytelling, but timing and pacing are key to maintaining flow. Pay attention to these points to create a professional look that captivates your audience. Incorporating animated movies can inspire creative transition ideas and emotional storytelling elements.
Seamless Transition Techniques
Seamless progressions are essential for creating a polished drone video that flows smoothly from one scene to the next. To achieve this, use techniques like match cuts, where you transition between shots with similar shapes or movements, maintaining visual continuity. Cross dissolves gently blend one scene into another, creating a smooth, professional look.
Consider these ideas:
- Match cut transitions between similar objects or patterns for fluid movement
- Use cross dissolves to soften scene changes without jarring the viewer
- Guarantee consistent lighting and color tones across scenes for cohesion
These methods help your video feel natural and engaging, avoiding abrupt jumps. Mastering seamless transitions elevates your drone footage, making it look more professional and polished.
Effect Selection Tips
Choosing the right shifts and effects can substantially enhance the professionalism of your drone videos. When selecting visual effect options, aim for subtle transitions that complement your footage without overwhelming it. Use simple effects like fades or cross dissolves to create smooth progressions between scenes. Incorporate color grading techniques to unify the look and mood of your video, making it more cinematic and polished. Avoid overusing flashy effects that distract from your footage’s natural beauty. Instead, focus on consistency and purpose—each effect should serve a specific storytelling goal. Remember, less is often more; clean, intentional effects elevate your footage and give it that professional touch. By thoughtfully applying these tips, your aerial films will look more cohesive and visually appealing.
Timing and Pacing
Ever wondered how the timing of shifts and effects can make or break the flow of your drone videos? Mastering tempo control and pacing rhythm helps you create a seamless viewing experience. When adding passages and effects, consider their placement to match the video’s rhythm, ensuring each change feels natural. Proper timing enhances the story without jarring your audience. To optimize pacing, focus on:
- Synchronizing cuts with beats or scene shifts
- Using slow or fast effects to emphasize mood
- Balancing transition duration for smooth flow
Incorporating Music and Sound Effects

When adding music and sound effects, choose tracks that complement your footage and set the right mood. Make sure to synchronize sounds with key visual moments to enhance the viewer’s experience. Incorporate ambient sounds to create a more immersive atmosphere and make your drone footage feel alive. Using sound editing techniques can help seamlessly blend audio with visuals for a professional finish. Remember to stay mindful of auditory balance to prevent audio from overpowering the visuals or becoming distracting.
Choosing Suitable Audio Tracks
How do you select the right audio tracks to enhance your drone videos? First, consider the mood you want to create. The right music can elevate the emotional impact and improve mood enhancement. Look for royalty free music that fits your scene’s vibe, whether energetic, peaceful, or dramatic.
To choose effectively, keep these ideas in mind:
- Match the tempo with the pace of your footage
- Use sound effects sparingly to highlight key moments
- Guarantee the audio complements visual elements without overpowering them
Synchronizing Sound With Visuals
To create a seamless and engaging drone video, you need to synchronize your music and sound effects with the visuals intentionally. Focus on precise audio synchronization to match key moments, such as transitions or fast movements, with beats or sound cues. Use sound editing tools to align audio tracks accurately, ensuring that the tempo complements the pace of your footage. Pay attention to timing when adding sound effects, so they enhance rather than distract from the visuals. Adjust volume levels to balance the music and effects, maintaining clarity. Proper sound editing helps reinforce the mood and guides viewers’ emotions, making your footage more immersive. Remember, effective synchronization elevates your drone videos from good to stunning, so take the time to fine-tune your audio to match your visuals perfectly.
Adding Ambient Sound Effects
Adding ambient sound effects can profoundly enhance the atmosphere of your drone videos by immersing viewers in the scene. Incorporating nature sounds and ambient background audio creates a more immersive experience, making the scenery feel alive. To achieve this, consider layering sounds like birds chirping, flowing water, or wind rustling through trees. These elements complement your visuals and evoke the mood you want to convey. You can find royalty-free sound effects online or record your own. When editing, seamlessly blend these sounds into your video, adjusting volume levels for natural integration. Keep your focus on creating a balanced soundscape that enhances the visuals without overpowering them. A well-chosen ambient background can turn an ordinary shot into a captivating, atmospheric scene. Additionally, understanding the principles of Haute Couture can inspire you to incorporate luxurious and intricate elements into your editing style, elevating the overall quality of your drone films.
Color Correction and Grading for a Cinematic Feel

Achieving a cinematic feel in your drone videos relies heavily on effective color correction and grading. Start by adjusting exposure, contrast, and white balance to create a balanced base. Then, focus on color grading to enhance cinematic tones—think deep shadows, rich highlights, and subtle color shifts that evoke mood. Use tools like curves and color wheels to fine-tune hues and saturation, ensuring your footage matches the desired aesthetic. Don’t be afraid to experiment with LUTs (Look-Up Tables) for quick stylistic changes. The goal is to craft a cohesive, polished look that immerses viewers and elevates your visuals beyond basic footage. Remember, subtle adjustments often yield the most professional and cinematic results.
Exporting and Sharing Your Final Aerial Video
Once you’ve finalized your drone footage and applied all necessary edits, the next step is to export your video in a format suitable for sharing. You’ll need to choose the right video resolution to guarantee your footage looks sharp on different platforms. Additionally, selecting the appropriate file format is vital for compatibility and quality preservation. Think about common formats like MP4 or MOV, which balance quality and file size. When exporting, keep in mind the intended platform—social media, YouTube, or personal archives. Here are some key points to contemplate:
- Set the best possible video resolution for your target platform
- Choose a widely supported file format, like MP4 or MOV
- Adjust export settings for the best balance of quality and file size
- Consider video compression techniques to optimize file size without sacrificing too much quality.
Frequently Asked Questions
How Can I Stabilize Shaky Drone Footage During Editing?
To stabilize shaky drone footage, start by ensuring your gimbal is properly calibrated for smooth footage. During editing, use stabilization software like Adobe Premiere Pro or DaVinci Resolve, which can markedly reduce shakiness. Apply the stabilization effect carefully, adjusting settings to avoid over-correcting, which can cause distortion. Combining proper gimbal calibration with effective stabilization software will give your aerial videos a professional, steady look.
What Are the Best Practices for Syncing Audio With Aerial Footage?
To guarantee smooth audio synchronization with your aerial footage, start by syncing your audio and video clips precisely in your editing software’s timeline. Use visual cues like claps or spikes in the sound wave for accurate alignment. Enhance your project with sound design elements, adding ambient sounds or effects that match your visuals. Regularly review your sync, adjusting as needed, to create a seamless, professional-looking drone video.
How Do I Add Text Overlays Without Distracting From the Video?
To add text overlays without distracting from your footage, focus on strategic text placement and font selection. Place text in areas with minimal movement or busy backgrounds, like the top or bottom corners. Use clean, simple fonts that complement your video’s style but don’t overpower the visuals. Keep text brief and avoid excessive animations, ensuring viewers stay engaged with your stunning aerial shots while still getting your message.
Can I Edit 4K Drone Footage on a Basic Computer?
Editing 4K drone footage on a basic computer is like trying to fit a big puzzle into a small box. Your hardware limitations may cause slow rendering or crashes, especially if your CPU, GPU, and RAM aren’t up to speed. Also, consider storage requirements—4K files are large, so make certain you have enough space. While it’s possible, upgrading your hardware will give you a smoother editing experience.
What Are Some Common Mistakes to Avoid in Drone Video Editing?
You should avoid overusing color grading, which can make your footage look unnatural. Keep an eye on the aspect ratio to guarantee your video fits your platform or project perfectly. Don’t rush the editing process; take time to match transitions smoothly and maintain consistency. Also, avoid excessive zoom-ins or shaky footage, which can distract viewers. Focus on balanced editing to create a professional, engaging drone video.
Conclusion
Think of editing your drone videos like sculpting a masterpiece from raw stone—you shape, refine, and bring out the beauty hidden within. With the right tools and techniques, you can transform simple clips into breathtaking aerial films that captivate your viewers. Keep experimenting, stay patient, and enjoy the process. Before you know it, you’ll have a stunning piece that soars just like your drone—free, creative, and uniquely yours.