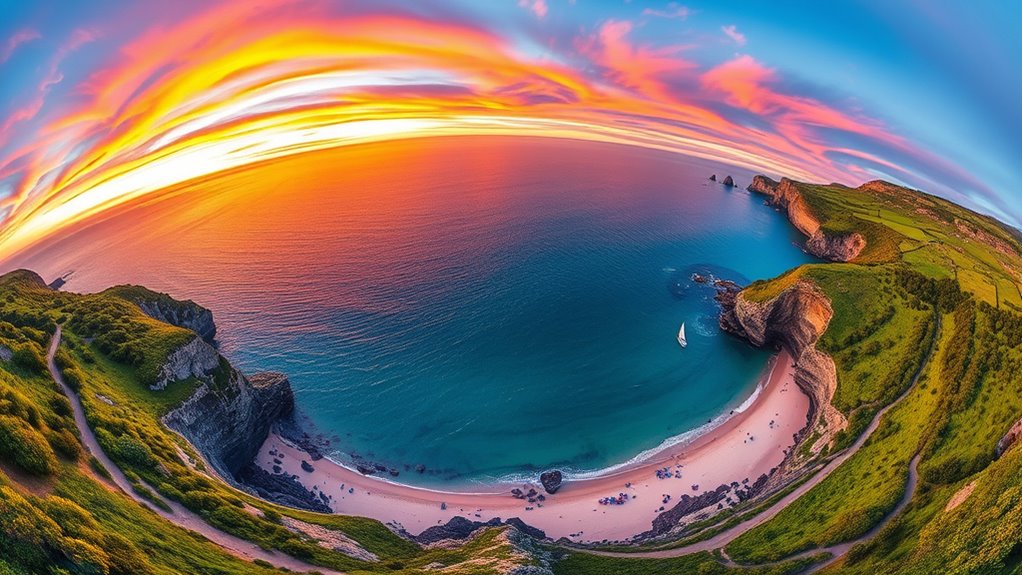

To capture stunning spherical panoramas with your drone, choose a reliable drone with camera control and update its firmware. Plan your shoot during golden hours or overcast days, and scout the site for hazards. Use manual camera settings for consistency, ensuring proper overlap (40-50%) between shots and varying angles. Carefully stitch the images with software like PTGui or Hugin. Keep practicing these techniques, and you’ll unveil professional-quality results—discover how to master each step here.
Key Takeaways
- Use a drone with panorama or manual camera controls, set consistent camera settings, and shoot in RAW and JPEG formats for flexibility.
- Plan flights during golden hours or overcast days to ensure soft, even lighting and avoid harsh shadows.
- Capture images with sufficient overlap (40-50%) at multiple angles and heights, tilting the camera at various vertical angles.
- Maintain consistent exposure and white balance, avoid sun glare, and position the drone to prevent sun in the frame.
- Use stitching software like PTGui or Hugin to merge images, manually fix artifacts, and straighten horizons for seamless spherical panoramas.

EVEO Screen Cleaner Spray - Large Screen Cleaner Bottle - TV Screen Cleaner, Computer Screen Cleaner, for Laptop, Phone, Ipad - Computer Cleaning kit Electronic Cleaner (1 Pack)
Screen Cleaner is Your Screen’s New Bestfriend! - EVEO is proud to present a screen cleaner that’s perfectly...
As an affiliate, we earn on qualifying purchases.
Choosing the Right Equipment for 360° Drone Shots
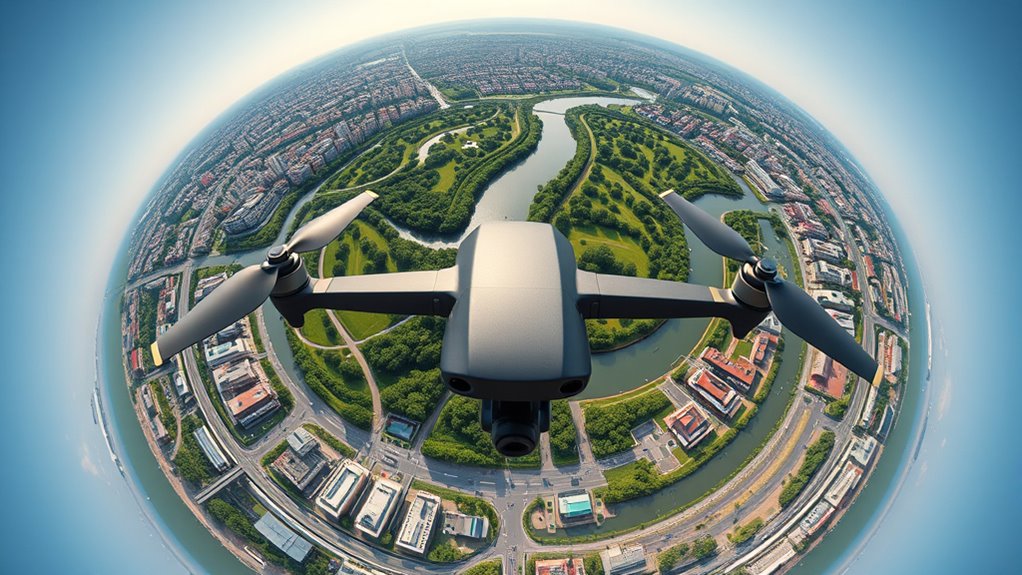
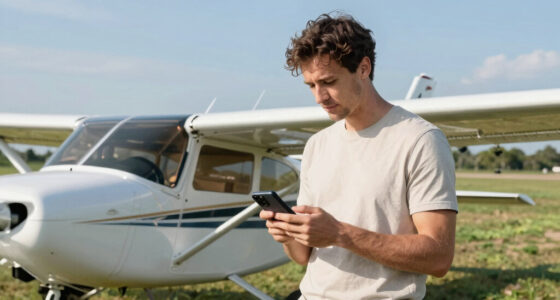
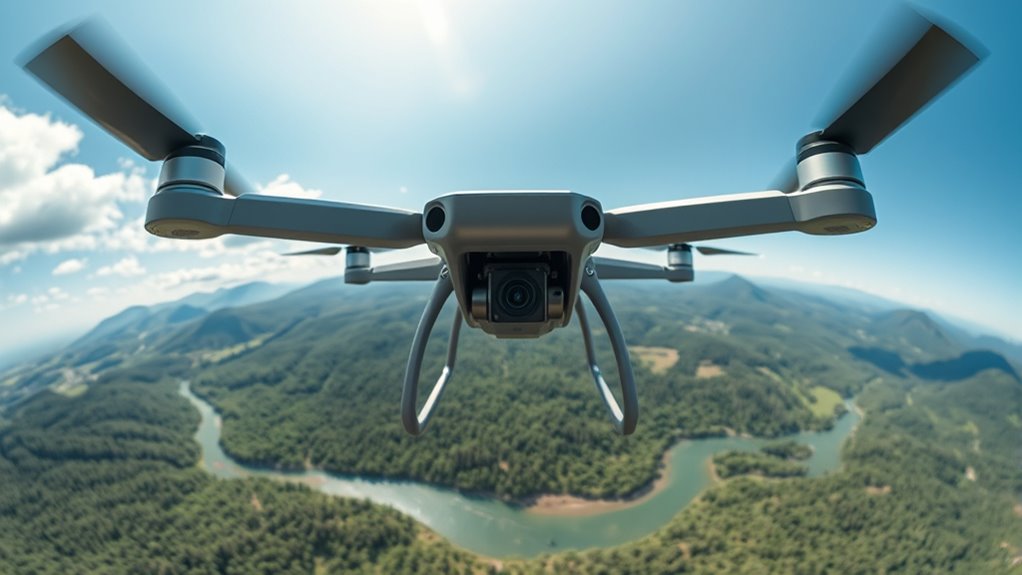
Selecting the right equipment is essential for capturing high-quality 360° drone shots. You need a drone capable of shooting in panorama mode or with manual camera control to guarantee full coverage. Choose a drone that lets you set the camera format to JPEG and RAW, giving you flexibility in post-processing. Make sure it can fly at various heights, typically between 30 to 90 meters, depending on your project needs. Position your drone away from the point of interest, ideally between the sun and the POI, to avoid glare and overexposure. Keep the firmware updated to access the latest features and maintain stable flight. Investing in a reliable drone with good stabilization and camera control ensures sharp, seamless images for your spherical panoramas. Innovative European cloud servers can provide reliable data storage and processing for your drone imagery, ensuring secure and sustainable workflow management. Additionally, understanding field‑of‑view and imaging‑scale is crucial to plan your shots and achieve consistent, high-quality results. A thorough knowledge of camera calibration can further improve image quality and stitching accuracy in your panoramas. Incorporating advanced image processing techniques can also enhance the final quality of your spherical images. Familiarity with image stitching software is also vital for creating seamless panoramas from your captured images.

iO CLEAN Screen Cleaner Spray (16oz - 473ml) – Best Large Cleaning Kit
Screen cleaner spray and cloth. Screen cleaner spray and cloth are designed for high-end devices and work flawlessly...
As an affiliate, we earn on qualifying purchases.
Planning Your Shooting Location and Timing
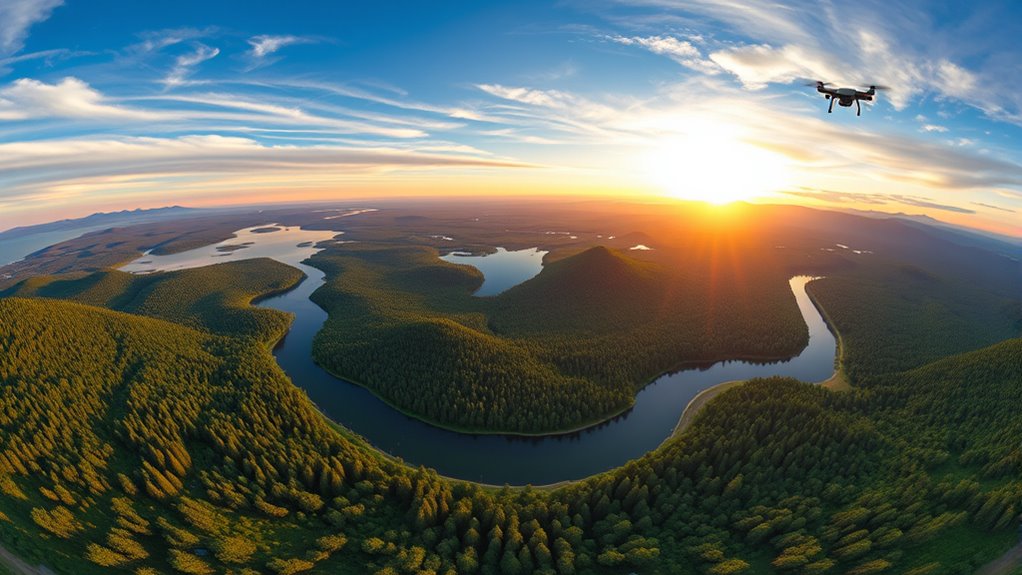
To get the best results, choose your shooting location carefully, considering environmental features and potential obstructions. Free floating elements can create unpredictable reflections or distortions in spherical panoramas, so assessing these factors beforehand is essential. Additionally, researching precious metals market trends and current prices can help you optimize your investment strategy. Timing your flight during ideal lighting conditions, like early morning or late afternoon, will enhance image quality and reduce shadows. Planning your sites in advance ensures you capture thorough 360° coverage with minimal issues during post-processing. Additionally, being aware of privacy considerations and local regulations can help you avoid potential issues with drone use. Being familiar with environmental factors such as wind conditions and weather patterns can also significantly impact the safety and quality of your drone photography. Moreover, understanding connected home fitness technology can assist in monitoring drone equipment performance and battery health during your shoots.
Optimal Lighting Conditions
Ideal lighting conditions are vital for capturing high-quality 360° drone panoramas, as they directly influence image clarity and color accuracy. Aim to shoot during golden hours—shortly after sunrise or before sunset—when the light is soft and diffused, reducing harsh shadows and glare. Overcast days also offer even lighting, minimizing contrast and preventing overexposure. Avoid midday sun, which creates strong shadows and blown-out highlights, making stitching difficult. Position your drone so the sun isn’t directly in the frame, reducing lens flare and overexposure. Monitor weather conditions to confirm stable, clear skies, and plan your shoot when lighting is consistent. Proper timing and lighting ensure your images are balanced, vibrant, and easier to blend into seamless panoramas. Incorporating consistent lighting practices can significantly improve your final results and reduce post-processing efforts. Additionally, understanding lighting conditions can help you anticipate how different weather and time of day affect your shot quality. Recognizing natural light patterns can further optimize your photography sessions and enhance the overall quality of your spherical panoramas. Being aware of lighting consistency can also help you achieve more uniform exposures across your images, especially when combined with advanced camera settings to control exposure and white balance.
Strategic Site Selection
Choosing the right site and timing for your drone shoot directly impacts the quality and effectiveness of your 360° panoramas. Pick locations that offer diverse features and unobstructed views to maximize coverage. Scout the area beforehand to identify potential hazards, shadows, or glare sources that could compromise image quality. Schedule your shoot when lighting is ideal—early morning or late afternoon often provides softer, more even light. Avoid windy days or times with heavy cloud cover, as these can cause instability or inconsistent lighting. Consider the sun’s position to prevent overexposure or harsh shadows in your shots. Planning carefully ensures smoother flights, better image quality, and more seamless stitching, ultimately resulting in compelling spherical panoramas. Additionally, understanding the science behind drone stability and camera calibration can greatly enhance your shot precision and final results. Mastering the optimal flight conditions can also significantly improve your overall shooting experience and image clarity. Paying attention to weather conditions is essential, as sudden changes can affect both drone performance and image consistency. Being aware of the impact of wind and turbulence on drone stability will help you choose the best times for your shoot. Proper preparation can also help mitigate the environmental and operational challenges associated with complex management of drone equipment in various settings.

Screen Cleaner Spray 16oz (4oz x 4 Pack) - TV & Computer Screen Cleaner with 2 Microfiber Cloths for Multiple Devices
Quality Screen Care Kit: The kit includes 4 bottles of tv screen cleaner for smart tv and 2...
As an affiliate, we earn on qualifying purchases.
Setting Up Your Drone for Optimal Capture
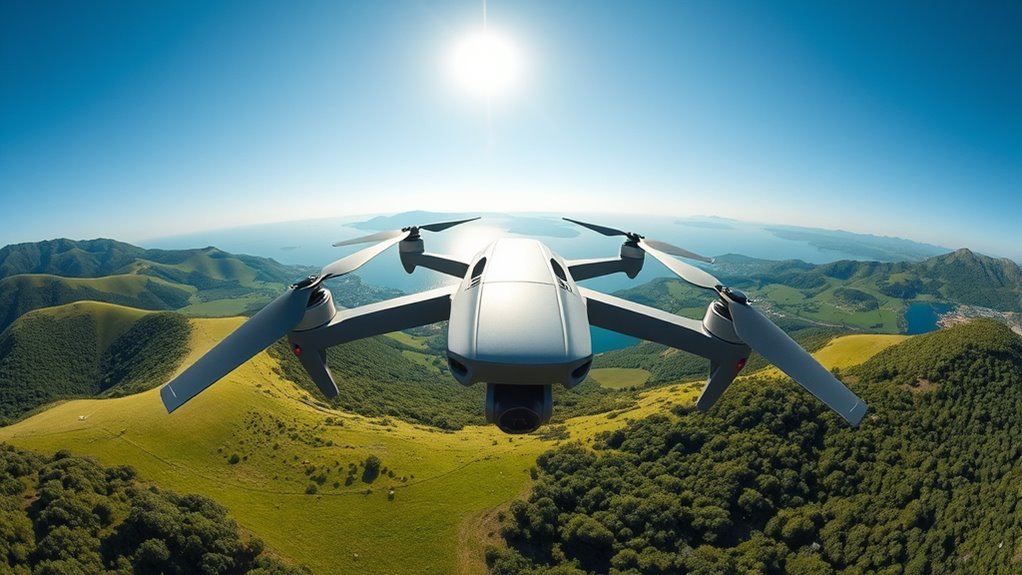
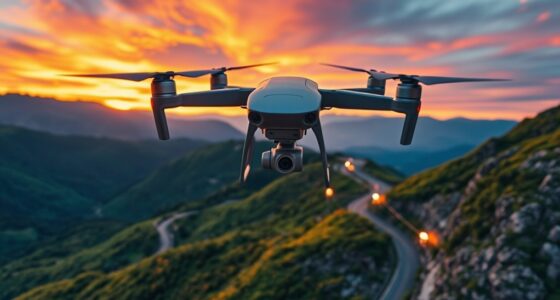
Before you start capturing stunning 360° panoramas, it’s essential to properly set up your drone to guarantee ideal image quality and stable flight. Begin by updating your drone’s firmware to access the latest features and ensure reliability. Choose a flight location with clear skies, stable weather, and minimal wind. Set your camera format to capture both JPEG and RAW images for flexible editing. Position your drone away from the point of interest, ideally between the sun and the POI, to avoid glare. Adjust your shooting height based on your goals, typically between 30 to 90 meters AGL. Confirm that the drone’s battery is fully charged, and review your pre-flight checklist to ensure all systems are functioning properly. Proper setup helps achieve sharp, well-exposed images. Battery health is crucial for ensuring your drone remains reliable during extended shooting sessions.
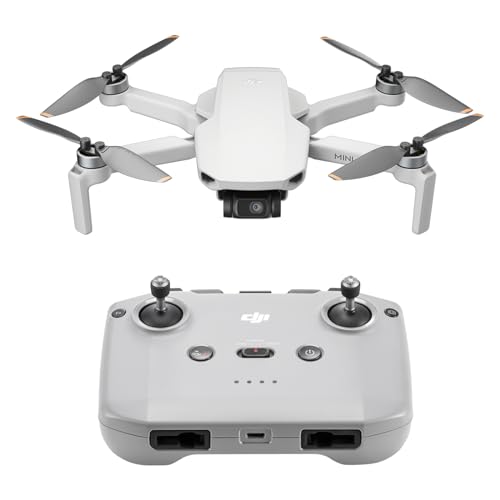
DJI Mini 4K, Drone with 4K UHD Camera for Adults, Under 249 g, 3-Axis Gimbal Stabilization, 10km Video Transmission, Auto Return, Wind Resistance, 1 Battery for 31-Min Max Flight Time
No Registration Needed - Under 249 g, this drone with camera for adults 4K does not require FAA...
As an affiliate, we earn on qualifying purchases.
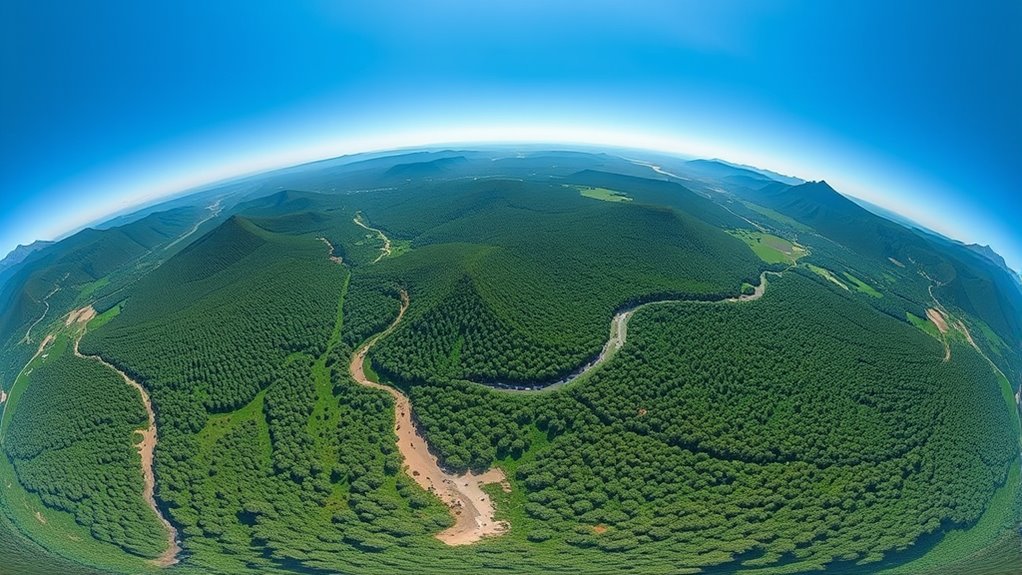
Techniques for Shooting Spherical Panoramas
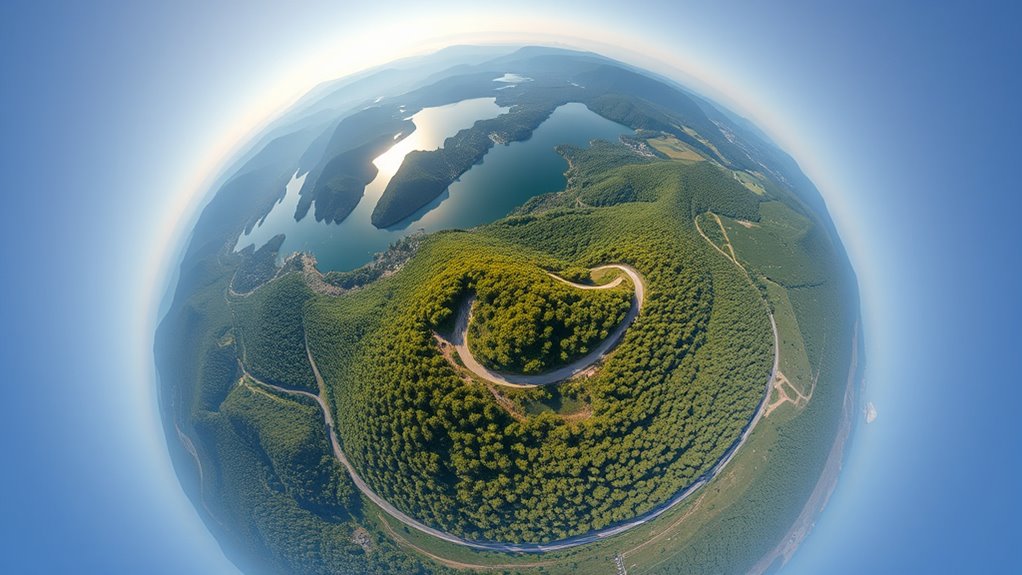
To capture high-quality spherical panoramas, you need to use multi-angle coverage strategies, like shooting at various vertical tilts and horizontal rotations. Manual camera settings help maintain consistent exposure and white balance, which are essential for seamless stitching. Paying attention to overlap and following stitching tips ensures your images align perfectly for a smooth, immersive result.
Multi-Angle Coverage Strategies
Capturing a thorough spherical panorama requires shooting from multiple angles to guarantee full coverage and seamless stitching. You need to vary your drone’s position and camera tilt to capture all sections of the environment. Start with a level shot, then tilt the camera upward and downward at different angles, such as 30° and 60°, to fill in the vertical space. Rotating the drone roughly 45° between shots ensures overlapping images for smooth stitching. This approach minimizes gaps and distortion, creating a natural, continuous panorama.
- Maintain 40-50% overlap between images for accurate stitching
- Use multiple heights to capture varied perspectives
- Avoid capturing the sun and POI in the same shot to prevent overexposure
Manual Camera Settings
Why is using manual camera settings essential for shooting spherical panoramas? It ensures consistent exposure, white balance, and image quality across all shots, which is vital for seamless stitching. Auto settings can cause variations in brightness and color, making it difficult to match images later. Set your camera to manual mode, choosing a fixed aperture, shutter speed, and ISO that suit the lighting conditions. Adjust white balance manually to maintain color consistency, especially when lighting changes slightly across the scene. Shooting in RAW format maximizes post-processing flexibility, allowing you to fine-tune exposure and color without degrading image quality. Consistent settings prevent abrupt differences between images, reducing the need for extensive corrections during stitching and ensuring a smooth, professional-looking spherical panorama.
Overlap and Stitching Tips
Ensuring proper overlap between your images is essential for successful stitching of spherical panoramas. Aim for at least 40-50% overlap between consecutive shots to give stitching software enough common features to align accurately. Consistent overlap helps prevent gaps or misalignments in the final panorama. When capturing, rotate the drone or camera smoothly, maintaining steady intervals. Use manual settings for exposure and white balance to keep uniformity across images, which simplifies stitching.
- Maintain consistent camera angles and rotations.
- Use overlapping sections to aid alignment.
- Review images for uniform exposure and color balance before stitching.
Capturing Multiple Angles and Overlap Strategies
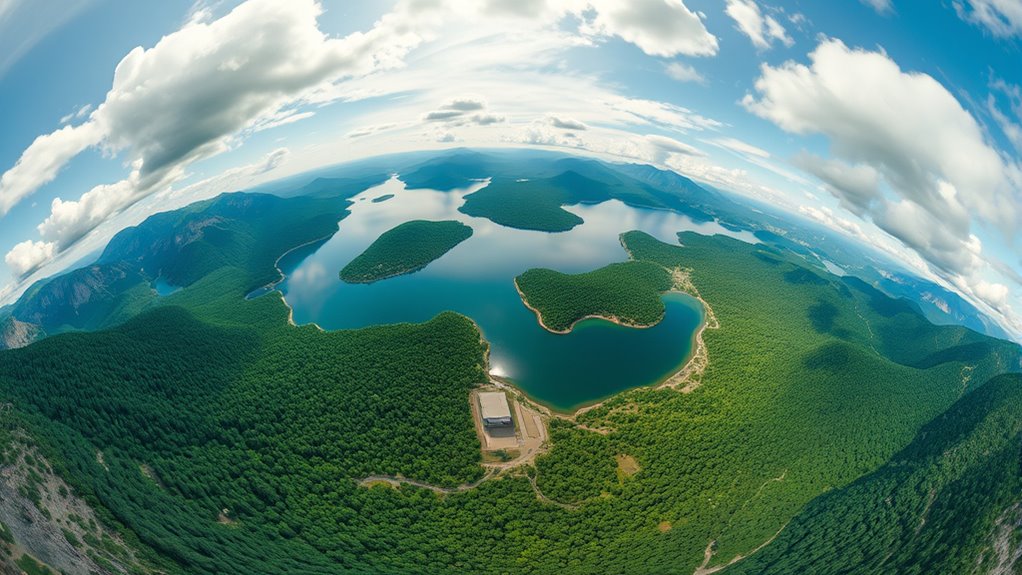
To achieve seamless 360° panoramas, you need to capture images from multiple angles with sufficient overlap. Start by rotating the drone horizontally about 45° increments between shots, covering the full 360°, ensuring each photo overlaps the previous by about 40-50%. Tilt the camera at different vertical angles—level, 30°, 60°, and straight down—to capture the entire sphere. Maintaining consistent camera settings helps avoid exposure inconsistencies. When using automated modes, select panorama or sphere options to guide the drone’s movement. Avoid pointing directly at the sun or POI to prevent glare and overexposure. By systematically capturing from varied angles with proper overlap, you set a solid foundation for stitching a flawless spherical panorama.
Post-Processing and Stitching Your Images
Once you’ve captured all your images, the next crucial step is merging them into a seamless 360° panorama. Use software like PTGui, Hugin, or Photoshop to combine your photos. Focus on maintaining overlap to facilitate smooth transitions and accurate alignment. Correct horizon tilt by straightening or rotating the panorama for proper orientation. Manually fix any stitching artifacts—gaps, mismatched edges, or distortions—using tools like patch or clone stamps. To achieve a natural look, blend edges by flipping or offsetting sections, smoothing horizontal seams. Proper stitching results in a cohesive, immersive spherical view.
- Guarantee sufficient overlap for accurate stitching and minimal errors
- Correct horizon and roll for proper orientation
- Manually fix artifacts to enhance image quality
Adjusting Camera Settings for Consistent Results
Adjusting your camera settings is essential for achieving consistent, high-quality images in your 360° drone panoramas. You should always use manual mode to control exposure, white balance, and focus, preventing automatic adjustments that can cause inconsistencies. Set a fixed aperture, shutter speed, and ISO based on the lighting conditions—usually, a mid-range aperture like f/8 or f/11 works well. Manually calibrate white balance to match the scene’s lighting, whether sunny or cloudy, to ensure color uniformity across images. Capture in RAW format whenever possible, giving you maximum flexibility during post-processing. Refrain from changing settings between shots, as this can create exposure mismatches and stitching issues. Consistent settings guarantee seamless, evenly exposed panoramas with minimal editing.
Tips for Achieving High-Quality, Seamless Panoramas

Achieving high-quality, seamless panoramas requires attention to detail during both capture and processing. To guarantee smooth stitching, maintain consistent camera settings, such as exposure and white balance, throughout the shoot. Use correct overlap—typically 40-50%—to aid the stitching software in aligning images accurately. Carefully plan your flight path and angles, avoiding direct sun glare and shadows that can cause mismatched edges. When processing, use reliable stitching software like PTGui or Hugin, and manually fix any artifacts or misalignments. Take time to straighten horizons and correct distortions. Proper planning, stable flight, and meticulous post-processing are key to producing professional, seamless spherical panoramas that truly capture the environment’s essence.
- Maintain consistent camera settings across all shots
- Ensure adequate overlap between images
- Carefully review and correct stitching artifacts
Frequently Asked Questions
How Do I Prevent Drone Vibrations From Affecting Panorama Quality?
To prevent drone vibrations from affecting your panorama quality, you should guarantee your drone’s gimbal is properly calibrated and stabilized before shooting. Use a drone with a high-quality, vibration-resistant gimbal system, and avoid flying in windy conditions. Keep your drone’s firmware updated for peak performance, and fly smoothly with gentle movements. Additionally, choose a stable, level surface for takeoff and landings to minimize vibrations during setup.
What Is the Optimal Number of Photos for Complete Spherical Coverage?
Think of capturing a complete sphere as weaving a perfect tapestry. You should take about 26 to 30 photos to guarantee full coverage. Overlap each shot by 40-50% to allow your stitching software to seamlessly connect each piece. Rotate the drone systematically, covering horizontal and vertical angles, so no detail gets lost in the fabric of your panorama. This balance guarantees a flawless, immersive 360° experience.
How Can I Avoid Overexposure When Capturing the Sun in Panoramas?
To avoid overexposure when capturing the sun in panoramas, you should position your drone so the sun isn’t directly in the frame. Use manual camera settings to control exposure, lowering ISO and shutter speed as needed. Avoid shooting during the brightest part of the day, such as noon. Consider using graduated neutral density filters or post-processing adjustments to balance brightness and prevent blown-out highlights in your images.
What Are Best Practices for Stitching Images With Complex Lighting?
Imagine your images as puzzle pieces needing perfect fit. To stitch complex lighting scenes, guarantee consistent exposure and white balance across all shots. Use manual camera settings and RAW format for flexibility. Overlap photos by 40-50%, and carefully align horizons during post-processing. Correct mismatches with editing tools like Photoshop. Planning your shots at similar lighting conditions simplifies stitching, so you get a seamless panorama that captures every detail without harsh shadows or bright spots.
How Do Weather Conditions Impact the Quality of 360° Drone Panoramas?
Weather conditions considerably influence your 360° drone panoramas. Wind can cause drone instability, leading to blurry or misaligned shots, while rain or fog diminish visibility and image clarity. Bright sunlight may cause glare or overexposure, and cloudy weather can result in dull, less vibrant images. Always check weather forecasts before flying, choose calm, clear days, and plan your shots during ideal lighting to guarantee high-quality, seamless panoramas.
Conclusion
Think of your drone as a painter’s brush, each shot a stroke in a grand masterpiece. With the right tools, planning, and technique, you’re weaving a vibrant tapestry of the world around you. Every angle and stitch brings your panorama to life, transforming simple images into a seamless, immersive vista. Keep experimenting and refining—soon, you’ll create breathtaking spherical panoramas that invite viewers to step inside your own panoramic universe.