To start soldering for drone building, choose a 25-40W adjustable soldering iron with a fine tip, and always keep the tip clean and tinned. Use lead-free solder and flux for strong, corrosion-resistant joints. Prepare wires by stripping and twisting, then tin them for better flow. make certain both wire and pad are heated before applying solder, and hold components steady until cooled. Keep practicing, and you’ll improve your skills with each joint made.
Key Takeaways
- Use a fine-tipped, adjustable soldering iron around 300°C for precise, clean joints.
- Always tin wires and pads before soldering to ensure strong, reliable connections.
- Keep the soldering iron tip clean and use minimal solder to prevent bridging.
- Heat both wire and pad simultaneously before applying solder for proper wetting.
- Practice on scrap boards and work in well-ventilated areas to improve skill and safety.

Soldering Iron Kit, 80W 110V Fast Heat up in 10s LCD Digital Adjustable Temperature Soldering Gun Thermostatic Soldering Kit for Electronic
1️⃣[Upgrade & Heat up Quickly]: This soldering iron adopts a premium ceramic core with 80w High Power, which…
As an affiliate, we earn on qualifying purchases.
As an affiliate, we earn on qualifying purchases.
Choosing the Right Soldering Iron and Setting It Up

Choosing the right soldering iron is essential for building reliable drone electronics. You should use a 25-40 watt soldering iron with a fine tip, which offers the precision needed for small components. An adjustable temperature iron is best, with settings around 300°C for most tasks. For small joints, increase the temperature to about 390°C; for larger joints, go up to 450°C. Cheaper irons often don’t generate enough heat, leading to weak connections. Before soldering, always tin the tip—apply a small amount of solder to improve heat transfer and prevent oxidation. Keep the tip clean by wiping it on a damp sponge or brass wire cleaner. Proper setup guarantees your solder joints are clean, strong, and reliable, setting a solid foundation for your drone builds. Ensuring your soldering iron has adequate power helps maintain consistent heat and improves overall soldering quality. Additionally, selecting a high-quality soldering iron can significantly reduce frustration and improve your results. Using a soldering iron with consistent heat output also minimizes the risk of cold joints and ensures better electrical connections.
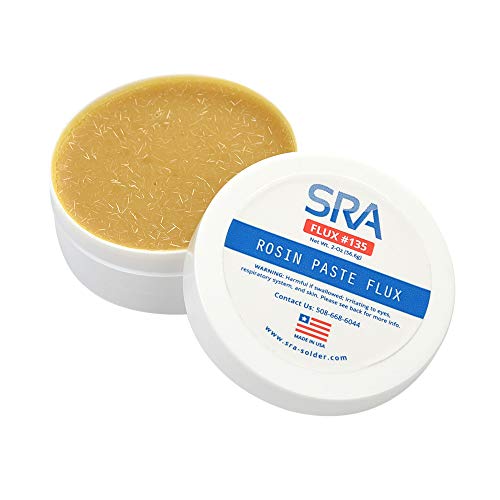
SRA Solder 135 Rosin Paste Soldering Flux For Electronics, No Clean Flux Made for Lead and Lead-Free Solder Circuit Boards and Copper Electrical Wire – Safe Clean Residues with No Goopy Mess (2oz Jar)
USA Quality Flux – Achieve the soldering results you desire with SRA 135. Our rosin paste flux is…
As an affiliate, we earn on qualifying purchases.
As an affiliate, we earn on qualifying purchases.
Essential Tools and Materials for Precise Soldering
To achieve clean and reliable solder joints, having the right tools and materials is essential. Use lead-free rosin-core solder with a diameter of 0.8-1.0mm for precision work on drone components. Apply flux to wires and pads to improve solder flow and joint strength. Before soldering, slide heat shrink tubing or wire shields onto wires to guarantee insulation. Tweezers or fine pliers help position small parts accurately. Keep your soldering iron tip clean with a damp sponge or brass wire cleaner, which maintains ideal heat transfer. Having quality tools ensures better control, reduces errors, and produces professional results. Investing in the right materials and maintaining your tools will make your soldering process smoother and your drone more reliable. Additionally, choosing high-quality solder can significantly impact the durability of your connections.

HANGLIFE 900M Soldering Iron Tips for Hakko, Yihua, Atten, Quick, Ryobi, and More Soldering Stations/Guns – Replacement Solder Tips for Welding Equipment & Accessories (12 pcs)
Perfect Compatibility: These tips are designed for soldering stations that use 900M series tips and are compatible with…
As an affiliate, we earn on qualifying purchases.
As an affiliate, we earn on qualifying purchases.
Preparing Wires and Components for Strong Connections
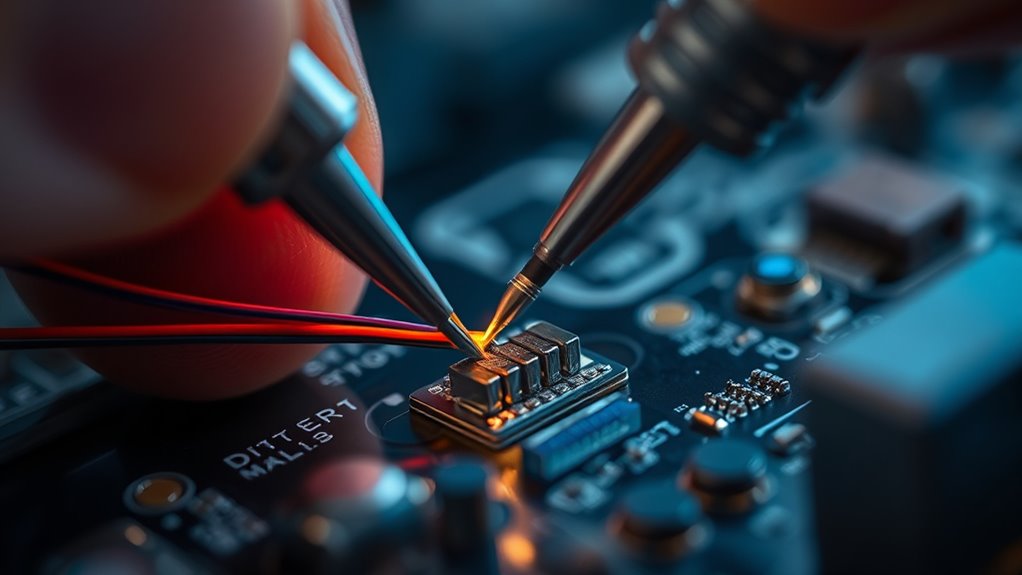
Preparing wires properly is key to ensuring strong, reliable solder joints. You should start by stripping only enough insulation to expose the necessary length of wire—usually about 3-5mm. Twist the exposed strands tightly to prevent fraying and ensure a solid connection. Tinning the wire involves applying a small amount of solder to the exposed strands; this makes it easier to join with the pad and creates a more durable connection. Always tin the component’s pad as well. Before soldering, add flux if needed to improve solder flow. Avoid exposing too much wire or leaving loose strands, as they can cause shorts or break under stress. Proper preparation ensures your joints are strong, conductive, and less prone to failure. Additionally, water resistance can be beneficial in certain drone applications to protect connections from moisture and corrosion. Incorporating proper insulation techniques can further prevent shorts and improve overall durability of your drone’s wiring. Moreover, using appropriate tools and techniques can help achieve cleaner, more reliable solder joints. Paying attention to body jewelry measurements and materials ensures that your connections are both safe and effective, especially in environments where durability matters. Additionally, considering connectivity standards can help ensure compatibility and longevity of your drone’s wiring system.

DIY Drone Kit with Brushless Motor & Dual Camera – STEM Building Project with Optical Flow Hovering, 360° Flips, One-Click Controls for Beginners to Learn Drone Engineering
1. Unique DIY Drone:This DIY drone integrates optical flow positioning modules, video modules, and high-power brushless motors.The assembly…
As an affiliate, we earn on qualifying purchases.
As an affiliate, we earn on qualifying purchases.
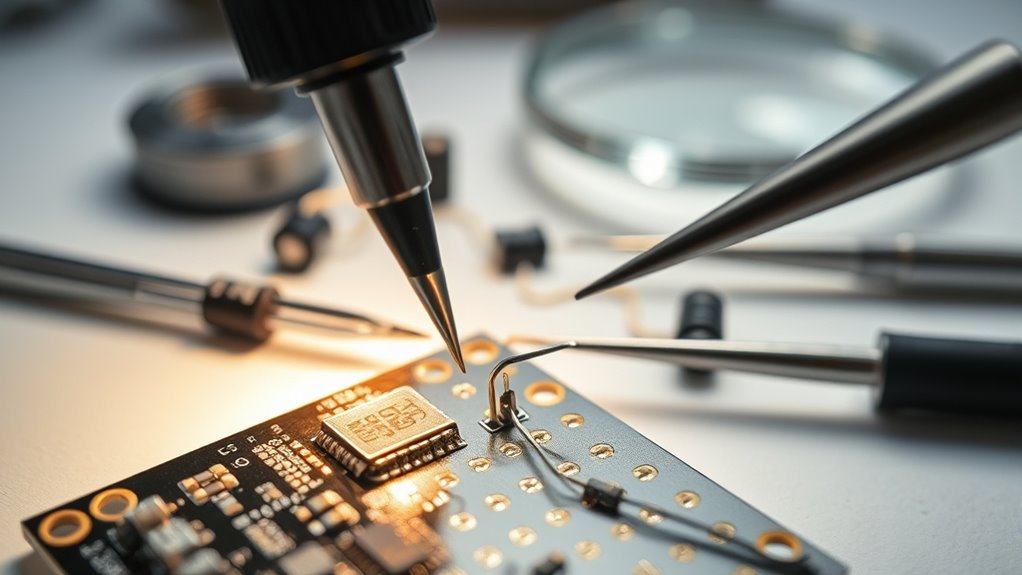
Mastering Soldering Techniques for Reliable Joints

Mastering soldering techniques is essential for creating strong, reliable joints that guarantee your drone’s electronics perform safely and effectively. To achieve this, confirm your soldering iron is clean and properly heated to the correct temperature—around 300°C for most components. When soldering wires to pads, heat both simultaneously, then feed solder into the joint, not directly onto the iron. Aim for a shiny, cone-shaped connection, indicating a good wetting. Hold the wire steady until the solder cools, preventing fractures. Use flux to improve flow and avoid excess solder that can cause shorts. Practice on scrap boards to refine your technique. Always work in a well-ventilated area, and prioritize safety. Proper soldering methods help ensure durable connections and reduce errors. Developing a steady hand and patience are key soldering skills for beginners. With consistent practice, you’ll develop the skills needed for durable, high-quality solder joints. Additionally, understanding different electric dirt bike types can help in selecting suitable components for your projects. Furthermore, learning about quality assurance practices can help you troubleshoot and improve your soldering techniques over time. Incorporating techniques from experienced hobbyists can also accelerate your learning curve and lead to better results.
Common Mistakes to Avoid and Practice Tips

Avoiding common soldering mistakes is essential for ensuring strong, reliable joints that won’t fail over time. To help you succeed, here’s a quick guide:
| Mistake | Practice Tip |
|---|---|
| Overheating components | Limit each joint to 3-4 seconds. |
| Excess solder causing bridges | Use only enough solder for a clean joint. |
| Moving parts while cooling | Hold components steady until cooled. |
| Dirty iron tip | Clean regularly with a damp sponge. |
| Exposing too much wire insulation | Trim insulation to prevent shorts. |
Stay mindful of these pitfalls. Practice on scrap boards first, and always prioritize safety. Proper soldering techniques and patience are key to building solid drone electronics every time. Additionally, understanding electrical component handling can help prevent damage during assembly, and being aware of proper component placement ensures your drone functions correctly. Developing good soldering habits can significantly improve your overall build quality and reliability. Remember that using appropriate tools can also make a noticeable difference in achieving consistent results.
Frequently Asked Questions
How Do I Safely Dispose of Used Solder and Flux Residues?
You should safely dispose of used solder and flux residues by collecting them in a sealed, non-metallic container to prevent spills. Check local hazardous waste regulations, as flux residues can be toxic and corrosive. Never pour solder or flux down drains or onto the ground. Take the container to a recycling center or hazardous waste facility. Always wear gloves and work in a well-ventilated area to avoid inhaling fumes.
Can I Use a Regular Soldering Iron for Drone Electronics?
A stitch in time saves nine, so using the right tools matters. You can use a regular soldering iron for drone electronics, but it’s not ideal. Opt for a 25-40 watt iron with a fine tip and adjustable temperature to guarantee precision. Cheaper, non-adjustable irons may not supply enough heat, risking weak joints. Investing in the right soldering iron makes your work cleaner, safer, and more reliable for delicate drone components.
What Are the Signs of a Cold or Faulty Solder Joint?
You’ll notice a cold or faulty solder joint if it looks dull, grainy, or rough instead of shiny and smooth. It might also be brittle, crack easily, or have a loose connection. Sometimes, you’ll see a gap or insufficient solder around the joint, causing instability. To fix this, reheat the joint, add a bit more solder if needed, and guarantee the connection is shiny and well-wetted for reliability.
How Do I Repair a Broken Solder Joint on a Drone PCB?
Imagine a tiny bridge collapsing beneath your finger—your broken solder joint on the drone PCB needs fixing. Start by heating the joint with your soldering iron until the old solder melts away. Then, clean the area if needed, re-tin the pad and wire, and apply fresh solder. Hold the wire steady until it cools, creating a shiny, solid connection. With patience, your drone’s circuit is restored, ready to fly again.
Is It Necessary to Use a Heat Gun or Reflow Oven for Drone Soldering?
You don’t need a heat gun or reflow oven for drone soldering. Using a good quality soldering iron with a fine tip and adjustable temperature helps you make precise, reliable joints on your drone’s PCB. Focus on proper technique, like tinning wires and pads, applying flux, and controlling heat to avoid damage. These tools give you enough control for most drone electronics, making additional heating equipment unnecessary.
Conclusion
By mastering these soldering basics, you’ll build stronger, more reliable drone connections. For example, imagine assembling a drone that crashes mid-flight because of a weak joint—you’ll avoid that by applying proper techniques. With practice, you’ll gain confidence and precision, ensuring your drone’s components stay secure even in tough conditions. Keep refining your skills, and soon soldering will become a natural part of your drone-building journey. Happy flying!