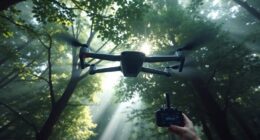

To capture great drone photos at night, choose a drone with a large sensor, good stabilization, and manual camera controls. Use slow shutter speeds, a wide aperture, and low ISO to maximize light while minimizing noise. Fly smoothly and stay steady, avoiding sudden movements. Plan your shoot during twilight for better results and guarantee safety and legal compliance. Want to learn how to refine your shots? Keep going to discover expert tips and techniques.
Key Takeaways
- Use drones with larger sensors and manual controls for better light capture and image quality in low-light conditions.
- Adjust camera settings to slower shutter speeds, larger apertures, and low ISO to maximize exposure while minimizing noise.
- Maintain steady drone movements and use gimbals to reduce vibrations, ensuring sharp images during long exposures.
- Plan flights during blue hour and scout locations beforehand to optimize lighting and avoid hazards.
- Apply post-processing techniques like noise reduction, exposure blending, and white balance adjustments to enhance night photos.
Choosing the Right Equipment for Low Light Conditions
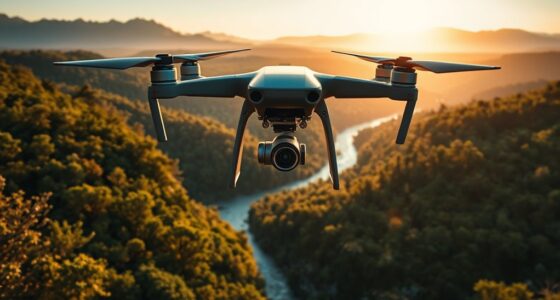
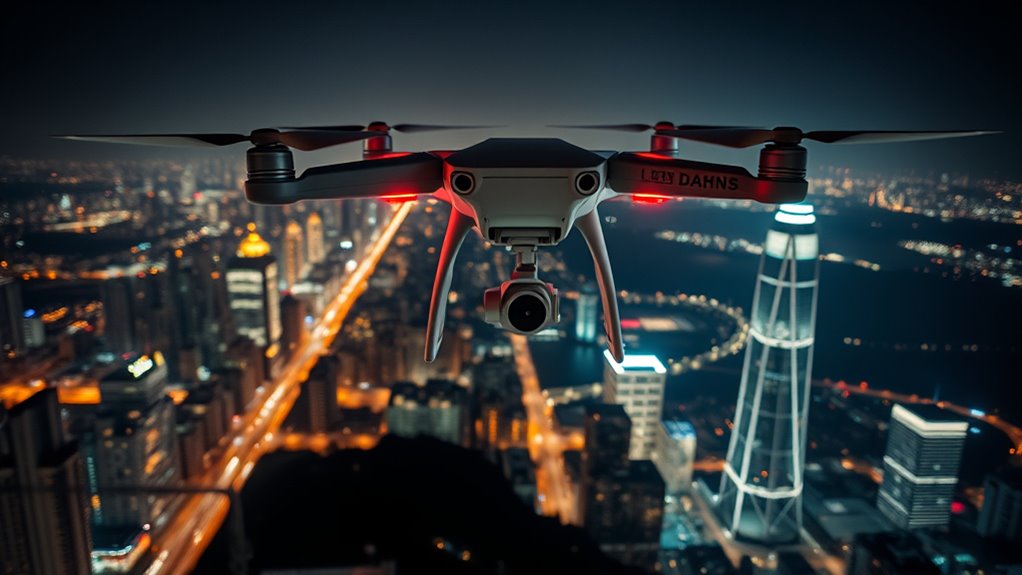
Choosing the right equipment is essential for successful night aerial photography, especially in low light conditions. You’ll want a drone with a larger sensor, like the 1” sensor found in models such as the DJI Mavic 2 Pro, which captures more light for better image quality. Make sure your drone offers manual camera controls—aperture, shutter speed, ISO, and white balance—to fine-tune settings for night shots. Use drones equipped with a gimbal to stabilize your footage and reduce vibrations that can cause blur. Additional lighting, like aftermarket strobes, helps with visibility and safety. Bring extra ground lights for safe takeoff and landing. Always check that your drone has reliable visibility lights rated for night flights, and consider models that support burst mode or high-quality sensors for ideal low-light performance. Incorporating innovative European cloud servers can also help process and store your high-resolution night images securely and efficiently. Proper planning and lighting techniques ensure you can effectively manage low light challenges and achieve stunning results. Additionally, understanding sensor performance in low-light conditions can significantly improve your ability to capture clear, vibrant images.
Mastering Camera Settings for Night Drone Photography
Mastering camera settings is essential for capturing sharp, well-exposed night aerial photos with your drone. Adjust shutter speed to a slower setting to let in more light, but keep drone movement minimal to prevent motion blur. Use larger apertures like F2.8 to maximize light intake. Set ISO as low as possible—around 100-400—to reduce noise, increasing it only if necessary. Manually control white balance: aim for 3000K-3600K for artificial lights or around 5000K for daylight. Avoid high frame rates that demand faster shutter speeds, which limit light. Use a gimbal for stabilization, and consider shooting in burst mode for post-processing flexibility. These settings, combined with steady flight techniques, help you achieve crisp, luminous night drone photos. Additionally, understanding the trusted resources available can help improve your night photography skills. Proper camera calibration can further enhance image quality in low-light conditions, ensuring your photos are clear and accurately exposed. Regularly checking and fine-tuning camera settings can also optimize results for different night scenarios. Incorporating adaptive lighting techniques can further enhance details in shadows and highlights, leading to more balanced night images.
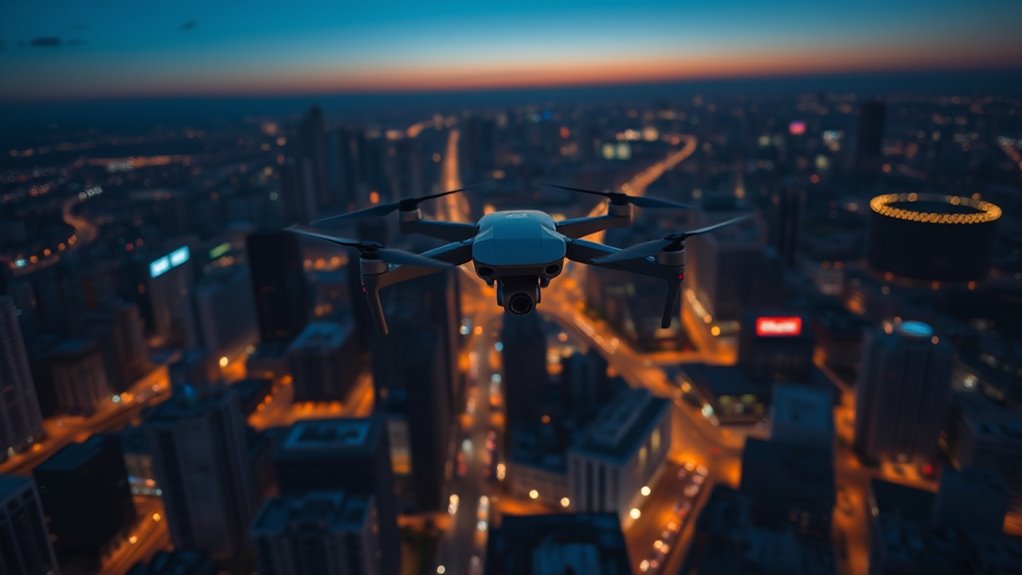
Stabilizing Your Drone for Clear, Sharp Shots
To get sharp nighttime shots, you need to focus on stabilizing your drone effectively. Use your gimbal to keep the camera steady during long exposures, and move slowly and smoothly to prevent motion blur. Maintaining hover stability is essential, so keep your drone steady and avoid sudden movements that can ruin your shot. Additionally, understanding stability techniques can significantly enhance your ability to capture clear, crisp images in low light conditions. Practicing proper drone setup can also help optimize your camera performance during night photography sessions. Ensuring your drone’s power supply is sufficient for extended flights can help maintain stability and camera operation during longer exposures. Incorporating sleep hygiene practices into your pre-flight routine can also help improve your focus and steadiness during critical shots. Developing flight planning strategies can further improve your stability and shot quality in challenging lighting environments.
Use Gimbals Effectively
Ever wondered how to get crisp, stable night aerial shots with your drone? Using your gimbal effectively is key. First, ensure your gimbal is properly calibrated before your flight—this minimizes unwanted movements. Second, activate the gimbal’s auto-stabilization mode to counteract drone vibrations and wind, keeping your camera steady. Third, during low-light conditions, consider manually locking the gimbal to maintain a fixed angle, especially when capturing long exposures or time-lapses. Imagine your camera smoothly gliding over city lights or starry skies, unaffected by drone wobble. Proper gimbal setup can significantly improve your shot quality in challenging conditions. With these steps, your footage will stay sharp and clear, even in challenging night conditions. Additionally, understanding how stabilization techniques work can help you optimize your drone’s performance for night photography. Exploring gimbal settings can further enhance your control and shot quality in various lighting environments. To maximize your results, always remember to balance your gimbal correctly before flight, which is crucial for achieving optimal stabilization. Also, familiarizing yourself with lighting conditions can help you plan your shots better and avoid common pitfalls during nighttime flights.
Maintain Slow, Steady Movements
Maintaining slow, steady drone movements is essential for capturing sharp, clear night shots. Rapid or jerky motions can cause motion blur, especially with longer exposures. To achieve stability, move your drone gradually and avoid sudden direction changes. Use smooth, controlled inputs on the control sticks, and keep your hands steady. Hovering in a stable position helps reduce vibrations and drift, which can blur images. If your drone has a tripod mode or similar stabilization feature, activate it to minimize unintended movement. Remember, precise, slow movements allow your camera to capture more light without sacrificing sharpness. Practicing smooth flight techniques during low-light conditions ensures your night photography results are crisp and professional-looking. Additionally, understanding your drone’s navigation and mapping capabilities can help maintain consistent positioning and reduce accidental shifts during your shots. Developing a flight control technique tailored for low-light environments can further enhance stability and image quality. Moreover, familiarizing yourself with your drone’s stabilization features can make a significant difference in capturing clear, crisp images in challenging lighting situations.
Optimize Hover Stability
Are you ensuring your drone stays perfectly stable during night shots? Stability is essential for sharp, clear images. To optimize hover stability, focus on these key techniques:
- Use “tripod mode” or hover mode to minimize drone movement, like a statue in the night sky.
- Keep your controls gentle—small, deliberate inputs prevent sudden shifts that cause blur.
- Rely on your gimbal to smooth out vibrations, creating a steady, glass-like view of distant city lights or starry skies.
Imagine a drone as a lighthouse beam, unwavering against the dark. Slow, controlled movements keep your camera pointed precisely where you want, ensuring every shot is crisp and detailed. Stability turns a blurry night scene into a stunning photograph.
Planning Your Night Shoot and Selecting the Best Timing

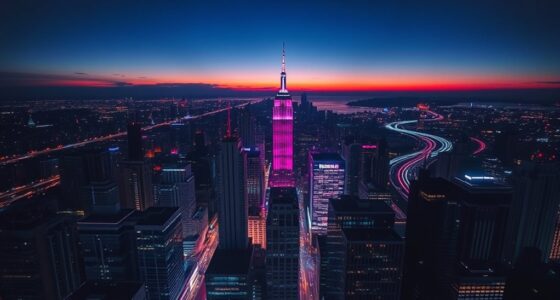
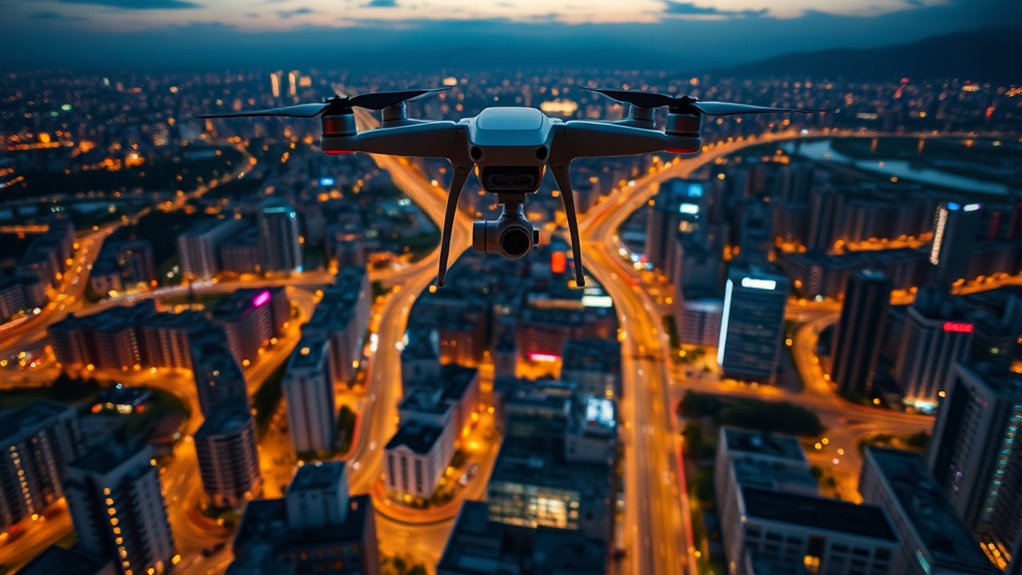
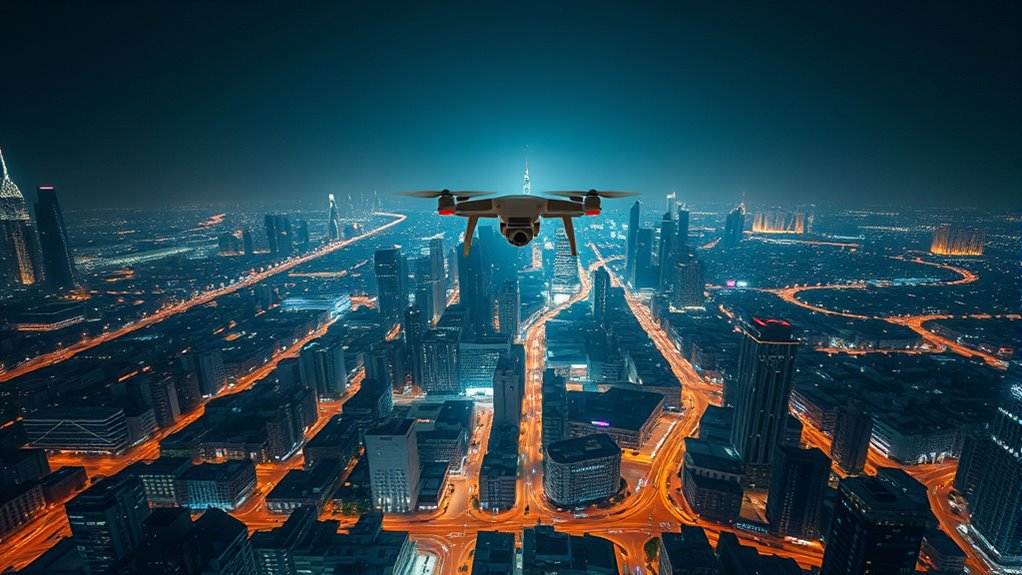
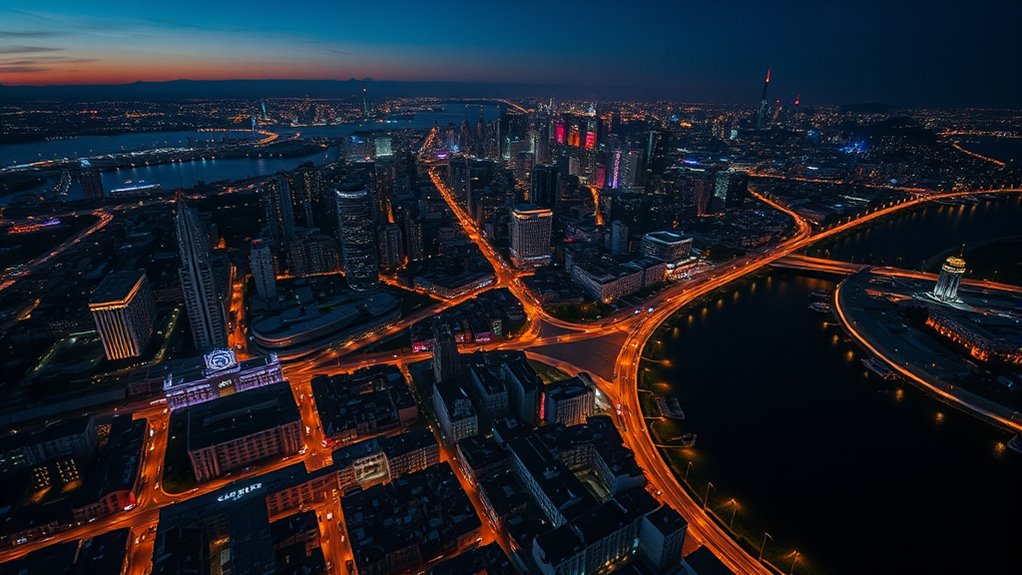
Planning your night drone photography session begins with selecting the ideal time to capture the scene, as lighting conditions greatly influence image quality. Aim for the “blue hour,” shortly after sunset or before sunrise, when ambient light is softer and noise levels are lower. Arrive early to set up and allow your drone’s sensors to adapt before total darkness. Avoid shooting during heavy wind or storm conditions, as stability becomes harder to maintain. Urban environments with artificial lighting provide natural illumination and vibrant nightscapes. Check weather forecasts for clear skies to maximize star visibility or city lights. Keep in mind that some regions restrict night drone flights, so verify local regulations beforehand. Proper timing ensures you capture well-exposed, sharp images while minimizing technical challenges.
Navigating Safety and Regulatory Guidelines After Dark
Managing safety and regulatory guidelines after dark requires you to be proactive and vigilant. First, ensure your drone has lights visible from at least 3 miles, so others see you and prevent collisions. Second, stay below 400 feet unless you have FAA permission, avoiding restricted airspace and reducing risk. Third, use a visual observer to monitor your drone’s position, altitude, and surroundings, especially in low visibility. Verify local laws beforehand, as some areas prohibit night flights altogether. Always consult airspace restriction maps to avoid controlled zones. Carry additional ground lighting for safe takeoff and landing, and keep communication lines open with local authorities if needed. Staying alert and compliant keeps your night flight safe, legal, and enjoyable.
Enhancing Night Images Through Post-Processing Techniques
To improve your night aerial shots, you’ll want to focus on noise reduction strategies that clean up grainy images without losing detail. Exposure blending can help balance bright lights and dark shadows, creating a more natural look. Adjusting white balance after shooting lets you correct color shifts and set the right mood for your scene.
Noise Reduction Strategies
Noise reduction is essential when enhancing night drone images, especially since high ISO settings often introduce unwanted grain. To improve clarity, start by applying noise reduction tools in software like Adobe Lightroom or Photoshop. Focus on:
- Adjusting luminance noise sliders to smooth out grain without losing too much detail, making sky and city lights look cleaner and more natural.
- Using selective masking to target noisy shadows or dark areas, preserving bright details like streetlights and reflections.
- Employing image stacking techniques by merging multiple shots to average out noise and enhance overall sharpness and texture.
These strategies help you achieve smoother, more detailed night images—bringing out the beauty of your drone’s nightscape captures while minimizing distracting grain.
Exposure Blending Methods
Exposure blending is a powerful post-processing technique that can substantially enhance night drone images by balancing the exposure across different regions of your shot. It involves combining multiple images taken at varying exposures to retain detail in shadows and highlights. This method is especially helpful when capturing scenes with contrasting light sources, like bright streetlights and dark skies. By stacking and blending these exposures, you can create a more balanced and detailed night shot. You can do this manually in software like Adobe Photoshop or Lightroom, or use automated HDR tools. Proper blending guarantees dark areas are visible without overexposing bright lights, resulting in a natural, well-exposed final image.
| Step | Technique | Purpose |
|---|---|---|
| 1 | Capture multiple exposures | Cover dynamic range |
| 2 | Align images | Correct movement or shift |
| 3 | Select best regions | Focus on shadows/highlights |
| 4 | Blend exposures | Achieve balanced exposure |
| 5 | Fine-tune adjustments | Enhance detail and contrast |
White Balance Adjustments
Have you ever noticed how different lighting conditions can dramatically change the colors and mood of your night drone photos? Adjusting white balance in post-processing helps you correct color casts and enhance atmosphere. To do this effectively:
- Use sliders to shift warmth toward cooler tones, balancing yellow and orange streetlights with surrounding shadows.
- Apply targeted adjustments to highlight artificial light sources, making them appear more natural and vibrant.
- Fine-tune the overall color temperature to match the scene’s mood—warmer for cozy urban scenes or cooler for a stark, nightscape feel.
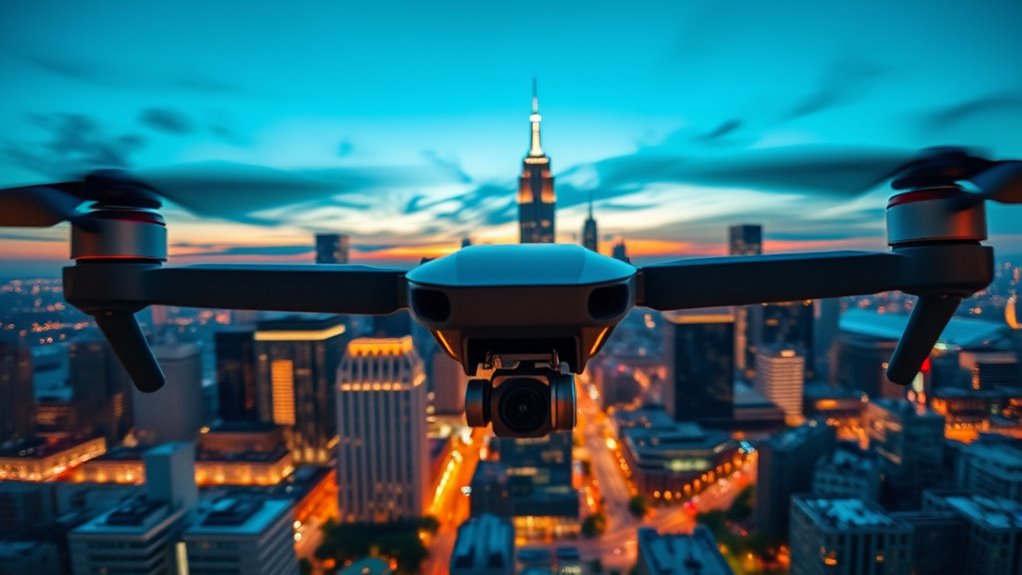
Tips for Capturing Stunning Nightscapes and City Lights
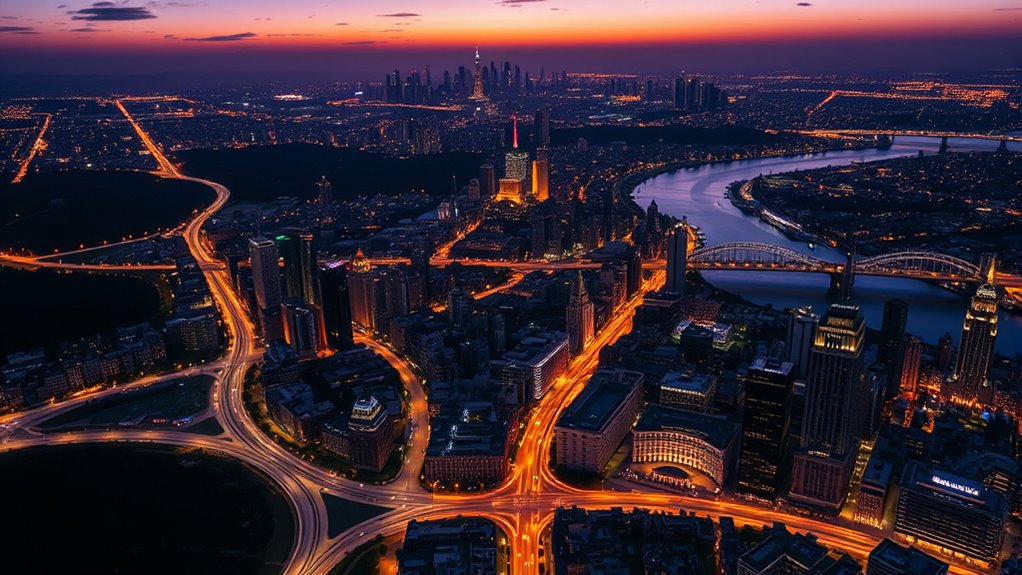
Capturing stunning nightscapes and city lights with your drone requires careful planning and the right camera settings. Start by scouting your location during daylight to identify light sources and hazards. Use a slower shutter speed to let in more light, but keep your drone steady with tripod or hover mode to prevent motion blur. Set a larger aperture, like F2.8, to maximize light intake, and manually adjust white balance for artificial lighting. Keep ISO as low as possible to reduce noise, but increase it if necessary for brightness. Use a gimbal for stability, and consider taking multiple shots in burst mode for stacking later. Timing matters—shoot during the blue hour to balance ambient light and avoid harsh shadows. Finally, make certain your drone’s lights are visible from a distance for safety and compliance.
Frequently Asked Questions
How Can I Improve Low-Light Drone Images Without Increasing Noise?
You can improve low-light drone images without increasing noise by using the lowest possible ISO setting and a larger aperture like F2.8 to maximize light intake. Keep your shutter speed slow enough to gather more light but stable enough to prevent motion blur. Use a gimbal for stabilization, shoot during the blue hour for softer light, and apply noise reduction and exposure blending in post-processing. These steps help keep your images clear and detailed.
What Drone Accessories Are Essential for Night Photography?
You should invest in essential accessories like powerful drone lights or strobes to improve visibility and safety at night. A high-quality gimbal stabilizer helps reduce vibrations, ensuring sharper images. Carry extra batteries to extend your flight time during low-light conditions. Additionally, use ND filters to control exposure, and a GPS tracker can help recover your drone if it gets lost. These accessories make night photography safer and yield better results.
How Do Weather Conditions Affect Night Drone Flight Safety?
Imagine flying your drone over a cityscape when unexpectedly gusty winds pick up, making control tricky. Weather conditions like strong winds, rain, or fog can seriously jeopardize your night flight safety. They cause instability, reduce visibility, and increase collision risk. Always check the forecast beforehand, avoid flying in stormy or rainy weather, and verify your drone’s stability features are engaged to maintain control and safety during night operations.
What Are the Best Legal Practices for Night Drone Photography?
You should always check local regulations and obtain any necessary permits before flying at night. Make sure your drone has proper lighting visible from at least three miles and stays below 400 feet unless authorized. Use a visual observer for safety, avoid restricted airspace, and review airspace maps. Follow all FAA or regional rules, and always prioritize safety and legal compliance during your night drone flights.
How Can I Effectively Plan Shots During Blue Hour?
You can effectively plan shots during blue hour by arriving early to scout locations and set up your drone. Use this time to adjust camera settings like white balance and ISO, ensuring ideal exposure as lighting changes. Identify interesting subjects, light sources, and compositions beforehand. Move slowly and steadily, leveraging the soft, natural light to capture vibrant cityscapes or landscapes. Be ready to adapt your settings as ambient light continues to fade.
Conclusion
Ready to elevate your night drone photography? With the right equipment, settings, and safety tips, you can capture stunning low-light images that stand out. Did you know that drones equipped with larger sensors can perform up to 2 stops better in low light? By planning your shoot carefully and refining your post-processing skills, you’ll turn dark skies into breathtaking scenes. So, get out there and start capturing those mesmerizing nightscapes!