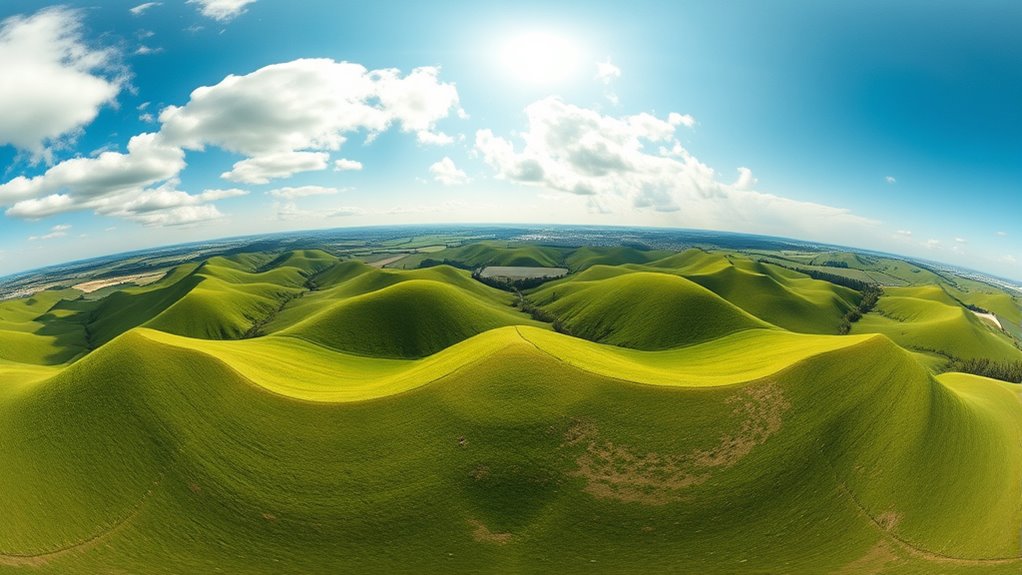

To create perfect 360° drone panoramas, guarantee your camera is well-calibrated for accurate colors and minimal distortion. Use manual settings to keep exposure consistent, and plan your shot to include 20-30% overlap between images for seamless stitching. Use reliable stitching software that supports automatic alignment and blending, and double-check your coverage. Following these tips helps you avoid gaps and misalignments, and there’s more to improve your results if you keep exploring.

Get the latest gadgets delivered free — and shop member deals
- Fast, free delivery on millions of items
- Access to Prime Big Deal Days deals on October 6–7
- Prime Video, Amazon Music and more included
Key Takeaways
- Use software with automatic alignment and blending features to ensure seamless 360° panorama stitching.
- Apply proper image overlap (20-30%) during capture to facilitate accurate software alignment.
- Ensure all images are properly calibrated for consistent exposure and distortion correction before processing.
- Select the appropriate stitching mode (e.g., spherical or cylindrical) based on your panorama’s composition.
- Manually adjust control points or tie points in stitching software to correct misalignments and improve results.
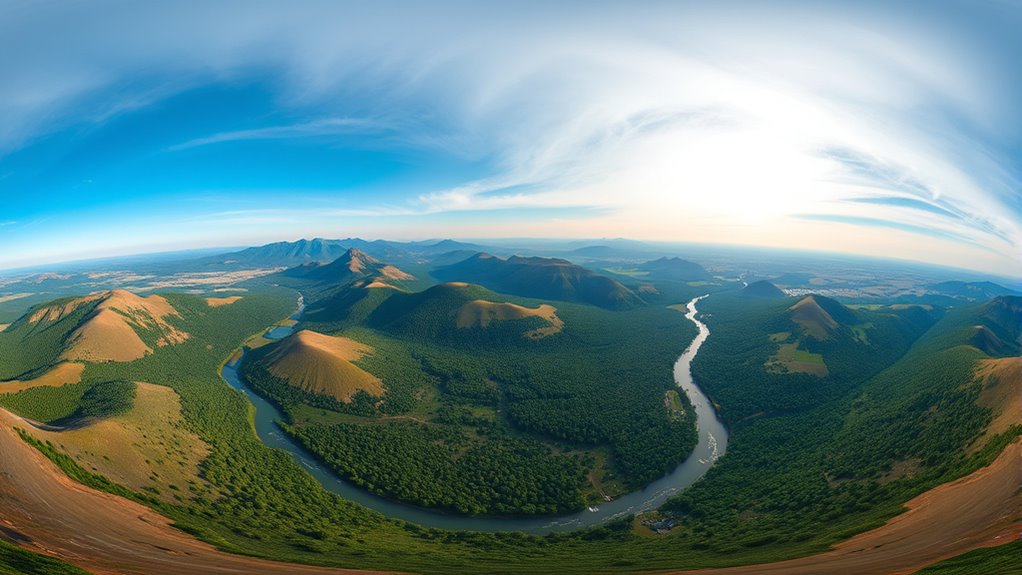
Capturing expansive, seamless panoramas with a drone has become more accessible thanks to advanced stitching techniques. To get those stunning 360° images, you need to pay attention to camera calibration and image overlap. Camera calibration ensures your drone’s camera produces consistent, distortion-free images, which is essential for seamless stitching. When your camera is properly calibrated, it captures images with accurate colors and geometry, reducing the need for extensive post-processing corrections. This calibration process involves adjusting lens distortion and exposure settings so that each shot aligns perfectly with the next, creating a smoother progression across your panorama. Additionally, proper calibration contributes to the overall system accuracy of your drone setup, improving stitching results. Equally important is maintaining the right amount of image overlap. When you’re shooting, aim for about 20-30% overlap between consecutive images. This overlap provides your stitching software with enough common features to precisely align the photos. Too little overlap, and the software struggles to match images correctly, resulting in gaps or misalignments. Too much overlap, and you waste time capturing unnecessary images, which can slow down processing. Striking the right balance guarantees your software can find enough shared details to stitch everything together seamlessly. Many drone operators overlook the importance of setting up their camera properly before shooting. Adjust your camera’s settings to keep exposure consistent across all images, preventing noticeable brightness or color shifts that can complicate stitching. Using manual settings rather than automatic modes helps maintain uniformity. Also, consider shooting in RAW format if your software supports it, as this preserves more image data for better stitching results and easier correction of calibration issues later. Before starting your mission, double-check your drone’s calibration and camera settings, and plan your flight path to ensure consistent coverage and overlap.
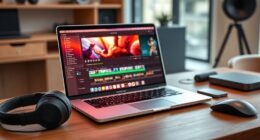
drone panoramic stitching software
As an affiliate, we earn on qualifying purchases.
As an affiliate, we earn on qualifying purchases.
Frequently Asked Questions
How Do I Choose the Best Drone for Panoramic Photography?
To choose the best drone for panoramic photography, focus on drone model selection that offers stability and flight time. Look for cameras with high resolution, good dynamic range, and adjustable settings to capture detailed images. Consider features like gimbal stabilization and obstacle avoidance. By prioritizing these camera specifications and drone capabilities, you guarantee sharp, seamless 360° photos, making your panoramic shots more professional and impressive.
What Are Common Software Mistakes to Avoid During Stitching?
Did you know that over 60% of panoramic stitching errors come from software mistakes? To avoid this, make certain you don’t ignore image distortion or uneven exposure during stitching. Double-check alignment points and correct exposure settings beforehand. Using poor software or rushing the process can cause mismatched images and warped panoramas. Take your time, manually adjust when needed, and always preview your panorama before finalizing to achieve seamless, professional results.
Can I Stitch Panoramas Directly on My Mobile Device?
Yes, you can stitch panoramas directly on your mobile device using stitching apps. Many mobile apps are user-friendly and designed specifically for quick, high-quality 360° photos. Simply select your images within the app, and it will automatically align and blend them for a seamless panorama. This makes it convenient to create stunning 360° photos on the go, without needing complex desktop software.
How Do Weather Conditions Affect Drone Panorama Stitching?
Weather conditions greatly impact drone panorama stitching. Like trying to piece together a puzzle in fog, heavy cloud coverage or wind can blur images and cause alignment issues. Rain or moisture can also damage your equipment. On a clear day, your shots will be sharper and easier to stitch. Always check weather forecasts before flying, as stable conditions guarantee better stitching results and stunning, seamless 360° photos.
What Post-Processing Is Recommended After Stitching?
After stitching your drone panorama, you should perform color correction to guarantee consistent tones across the entire image. Use exposure blending to smooth out any exposure differences between shots, creating a seamless look. Additionally, fine-tune contrast and sharpness for clarity. These post-processing steps will enhance your 360° photo, making it more vibrant and professional-looking. Don’t forget to review the final image, making minor adjustments as needed.
360 degree drone panorama camera
As an affiliate, we earn on qualifying purchases.
As an affiliate, we earn on qualifying purchases.
Conclusion
Now that you know these software tips, you’re ready to craft seamless 360° drone panoramas. Remember, “a picture is worth a thousand words,” so take your time to align and blend your shots perfectly. With patience and practice, you’ll turn every drone flight into a stunning visual story. Don’t rush the process—great panoramas are like a well-woven tapestry, revealing more with each careful stitch. Happy shooting!
As an affiliate, we earn on qualifying purchases.
As an affiliate, we earn on qualifying purchases.
Fall Picks
fall essentials
As an affiliate, we earn on qualifying purchases.