To tune your FPV drone, start by adjusting the PID parameters. Increase P gradually for responsiveness but watch for oscillations. Fine-tune D to reduce vibrations, and tweak I to maintain steady hover. Also, set your rates to match your skill level—higher for flips, lower for smooth flight—and use expo to soften stick response. If you stay methodical and make small changes, you’ll develop a stable, responsive setup; keep exploring for more in-depth tips.
Key Takeaways
- Start with small, incremental adjustments (5-10%) to P, I, and D gains while observing flight response.
- Use Acro mode to test responsiveness and stability after each PID tweak.
- Fine-tune D gain (~5-10 units) to reduce vibrations and propwash.
- Adjust rates and expo gradually to match your control style and desired maneuverability.
- Always backup original settings, avoid active tuning mid-flight, and monitor for oscillations or vibrations.

Haoyull Quadcopter Drones PID Tuning Stand Kit for Model Aircraft Testing, Aluminum Debugging Frames
Elevates your Drones piloting experience with Quadcopter PID Flight Controls Tuning Stand, for precise and responsive flight adjustments.
As an affiliate, we earn on qualifying purchases.
As an affiliate, we earn on qualifying purchases.
Understanding the Role of PID Parameters in Flight Stability

Understanding the role of PID parameters is essential for achieving stable flight in your FPV drone. Your P, I, and D gains work together to control how your drone responds to inputs and maintains stability. The P (Proportional) gain reacts immediately to deviations, making your drone respond quickly but risking oscillations if set too high. The I (Integral) gain corrects for long-term errors, helping keep the drone steady during hover, but too much can cause sluggishness or drift. The D (Derivative) gain dampens rapid changes, reducing vibrations and propwash. Properly tuning these parameters balances responsiveness with smoothness, preventing wobbling or overcorrection. Understanding their functions helps you make precise adjustments for stable, controlled flying. Additionally, energy efficiency in your drone’s components can enhance flight times and overall performance.

Drone with Camera for Adults, 2K HD FPV Drones with Upgrade Altitude Hold, One-Key Take Off/Landing, Speed Adjustment, Headless Mode, 2 Batteries, Toys Gifts for Teen Boys Girls, Beginner
【2K Ultra HD Camera】Loiley drone features a high-quality 2K HD camera with a 90° remote adjustable angle, allowing…
As an affiliate, we earn on qualifying purchases.
As an affiliate, we earn on qualifying purchases.
Step-by-Step Guide to Incremental PID Tuning

To achieve ideal flight stability, you should approach PID tuning gradually, making small, controlled adjustments rather than large changes. Begin by flying in Acro mode to observe your drone’s baseline behavior. Adjust the P gain in tiny increments—about 5-10%—and test flight after each change. Once the drone reacts crisply without oscillations, fine-tune the D gain to dampen propwash and smooth out movement. Use the table below to keep track of your adjustments:
| Step | Parameter | Adjustment Range | Notes |
|---|---|---|---|
| 1 | P Gain | +5% to +10% | Look for crisp response |
| 2 | D Gain | +5 to +10 units | Reduce propwash |
| 3 | Test Flight | After each change | Check for oscillations |
| 4 | Final Tuning | Small tweaks | Achieve stable flight |
Repeat until your drone balances responsiveness with stability. Additionally, understanding PID fundamentals can help you make more informed adjustments. Incorporating knowledge of rate settings can further refine your drone’s responsiveness and handling. It’s also beneficial to familiarize yourself with feedback loops to optimize your tuning process effectively.
ZOWZEA 24Pcs M3 Anti Vibration Rubber Balls for F4 F7 Flight Controller, RC Silicone Damper Balls for FPV Drone Quadcopter Soft Mount Standoffs, M3x4.6mm Shock Absorption Grommets (Black)
[Effective Vibration Dampening]: Designed to "soft mount" your F4 or F7 flight controller, these rubber balls effectively isolate…
As an affiliate, we earn on qualifying purchases.
As an affiliate, we earn on qualifying purchases.
Adjusting Rate and Expo for Optimal Control Feel

Adjusting rate and expo settings is essential for tailoring your drone’s responsiveness to your flying style. Rates determine how quickly your drone rotates in response to your stick inputs—higher rates mean faster flips and sharper turns, while lower rates offer smoother, more controlled movements. Expo smooths out stick response around the center, making delicate maneuvers easier without sacrificing full-speed capabilities. If you prefer precise control for freestyle tricks, increase your rates gradually. For smooth cinematic flights, lower your rates and add some expo. Always test fly after making adjustments, and tweak incrementally to find the balance that feels most natural. Incorporating consistent flight practice helps you better understand how these settings influence your control. Combining rate and expo adjustments with your PID tuning creates a drone that responds intuitively and matches your preferred flying style. Regularly reviewing your aircraft maintenance ensures optimal performance and responsiveness.

YoungRC RC Quick Release Wrench Tool M3 M5 Wrench Multifunctional Quick Release Propeller Motor Wrench Tool 1.5mm/2mm Screwdriver with Built in Bearing Tool for RC Drone FPV Racing
Multifunction: Our M5 M3 quick release wrench tool is designed for fpv propeller tighten or releasing M3 M5…
As an affiliate, we earn on qualifying purchases.
As an affiliate, we earn on qualifying purchases.
Best Practices and Precautions During Tuning Sessions
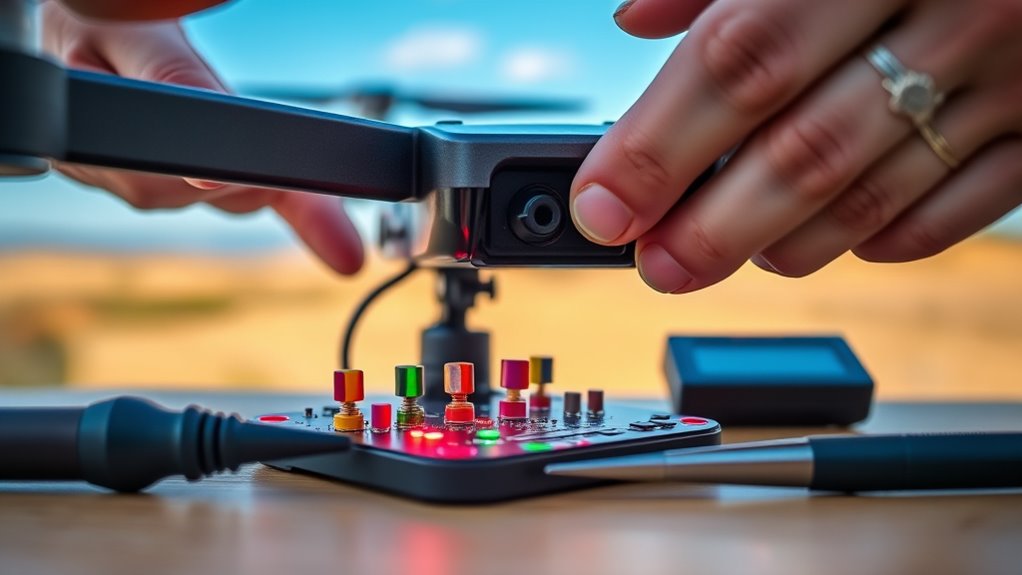
When tuning your FPV drone, following best practices and taking safety precautions can prevent crashes, damage, and frustration. Always back up your original PID settings before making adjustments. Perform tuning under typical flight conditions, including payload and battery load, to ensure realistic results. Use small, incremental changes (around 5-10%) and test flights after each adjustment. Avoid flying with active tuning changes; land before revising settings to prevent erratic behavior. Monitor for signs of over-tuning, such as vibrations, motor heat, or oscillations, and reduce gains if needed. Conduct tests in open areas away from obstacles. Additionally, understanding the control loop fundamentals can help you interpret how your adjustments influence drone stability. Incorporating knowledge of feedback mechanisms can further aid in achieving optimal tuning results. Recognizing the importance of component quality can also enhance the effectiveness of your tuning process and overall flight performance. Regularly inspecting your drone components ensures consistent tuning and safe flights, and paying attention to the piercings of your equipment can prevent potential malfunctions.
Advanced Tips and Tools for Fine-Tuning Your Drone
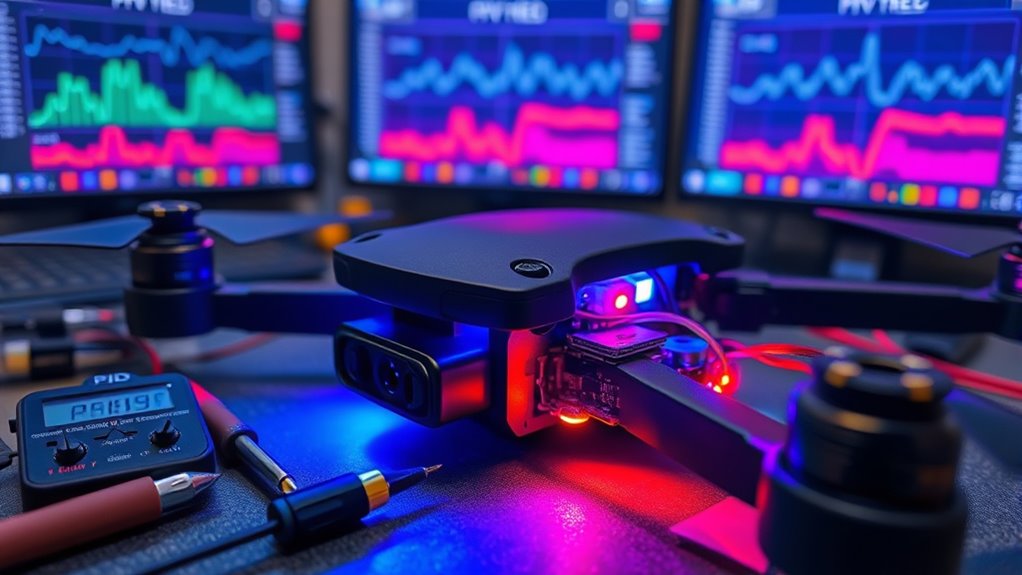
Advanced tips and tools can considerably enhance your drone’s tuning process, helping you achieve more precise and stable flight. Using specialized software and hardware can streamline adjustments and improve accuracy. For example, firmware configurators like Betaflight or ButterFlight offer real-time PID curve visualization, making it easier to spot issues. You can also utilize logging tools to track motor temperatures, vibrations, and oscillations, ensuring your settings are safe. Additionally, auto-tune features can give you a solid starting point, reducing manual trial and error. Community forums and preset configurations provide valuable insights and proven settings for different drone types and flying styles. firmware configurators can also help you customize and optimize your drone’s performance further, especially when leveraging configuration tools to adapt to your specific flying needs.
Frequently Asked Questions
How Do Environmental Factors Affect PID Tuning Accuracy?
Environmental factors directly impact your PID tuning accuracy because they influence flight behavior. Wind, temperature, and humidity can cause turbulence, making your drone react differently than in calm conditions. If you tune your PID settings indoors or in still air, they might not perform well outside. Always perform test flights under typical environmental conditions to verify your PID adjustments are reliable, stable, and responsive in real-world flying scenarios.
Can I Use Auto-Tuning Features Instead of Manual Adjustment?
Yes, you can use auto-tuning features instead of manual adjustment, but you should understand their limitations. Auto-tuning quickly finds a baseline, saving time and effort, but it may not account for your drone’s unique setup or flying style. You need to review and fine-tune these settings afterward. Auto-tuning is a helpful starting point, but manual adjustments give you better control, responsiveness, and personalization for peak flight performance.
How Often Should I Retune My Drone for Optimal Performance?
You should retune your drone whenever you notice changes in flight behavior, such as increased vibrations, oscillations, or sluggish responses. Environmental factors like wind, payload adjustments, or new propellers also warrant retuning. Regularly checking and fine-tuning your PID settings guarantees peak responsiveness and stability. Don’t wait too long; frequent small adjustments help maintain smooth control, especially after hardware changes or significant flying sessions.
What Are Signs of Over-Tuning Beyond Oscillations?
Over-tuning your drone is like pushing a guitar string too tight—it may produce a higher pitch but risks snapping. Signs include excessive vibrations, propwash, motor overheating, or persistent wobbling even after adjustments. These issues mean your gains are too high, causing strain and instability. You should scale back your settings to restore smooth, controlled flight and prevent damage, ensuring your drone performs reliably without unnecessary stress.
How Do Motor and ESC Temperatures Influence PID Settings?
Motor and ESC temperatures give you clues about your PID settings. If motors or ESCs get too hot, your PID gains might be too high, causing excessive motor strain. High D gain, in particular, can lead to increased heat due to rapid motor responses. To prevent damage, monitor temperatures during flights, and if they rise sharply, reduce your PID gains gradually. Proper tuning keeps your drone responsive and avoids overheating.
Conclusion
Remember, practice makes perfect, and tuning your FPV drone is a journey, not a race. By understanding and adjusting your PID and rate settings carefully, you’ll gain better control and confidence in the air. Don’t rush the process—small tweaks lead to big improvements. As the saying goes, “A journey of a thousand miles begins with a single step.” Keep experimenting, stay patient, and enjoy watching your skills take flight!