
To make your property footage look clean, calm, and professional, plan smooth drone movements and use gentle angles to highlight key features. Capture shots during golden hours for soft, natural lighting and avoid harsh midday sun. Keep your camera steady with stabilizers, frame with clear lines, and eliminate clutter. Use lighting techniques like diffusers and turn on interior lights to create inviting spaces. Mastering these tips will help your visuals stand out; discover more tips that elevate your footage.
Key Takeaways
- Plan smooth, deliberate drone movements with slow pans and tilts to create a calm, polished visual flow.
- Shoot during golden hours to maximize natural, soft lighting that enhances a warm, inviting atmosphere.
- Use stabilizers and steady framing to eliminate shake and clutter, ensuring clean, crisp footage.
- Control interior lighting with open curtains and activated lights for consistent, bright, and professional-looking spaces.
- Apply subtle color correction and avoid glare or reflections to maintain a cohesive, polished aesthetic.
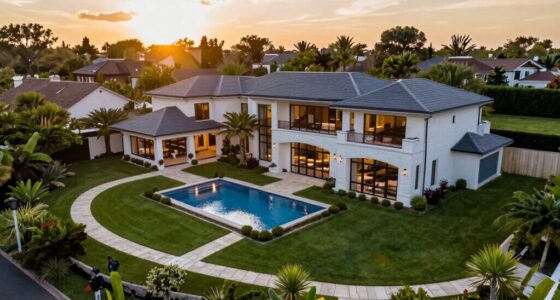
Capturing the perfect property footage can make all the difference in attracting potential buyers or renters. When you aim for clean, calm, and professional visuals, every shot counts. One of the most impactful ways to elevate your footage is by expertly using drone angles. Instead of random or shaky drone shots, plan smooth, sweeping movements that highlight the property’s best features. Low, steady drone angles can showcase the front façade, giving viewers a clear sense of scale and curb appeal. High-altitude shots can reveal the surrounding landscape or neighborhood, providing context that appeals to buyers. Keep your drone movements slow and deliberate to maintain a calm and polished feel. Avoid abrupt jerks or quick changes, as these can distract viewers and diminish the footage’s professionalism. Instead, use gradual pans and tilts that guide the eye naturally across the property.
Smooth drone shots highlight key features and add a calm, professional touch to property visuals.
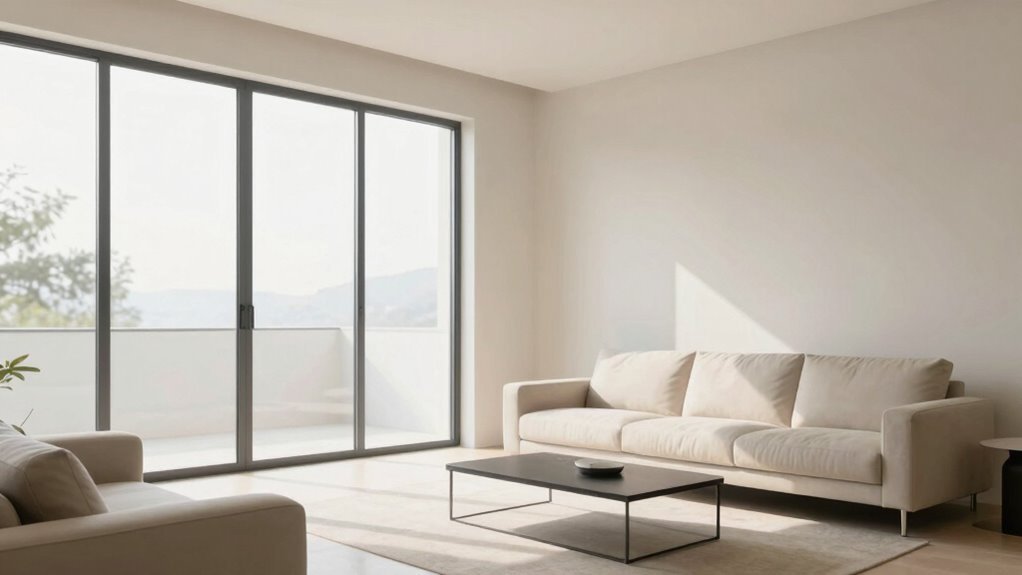
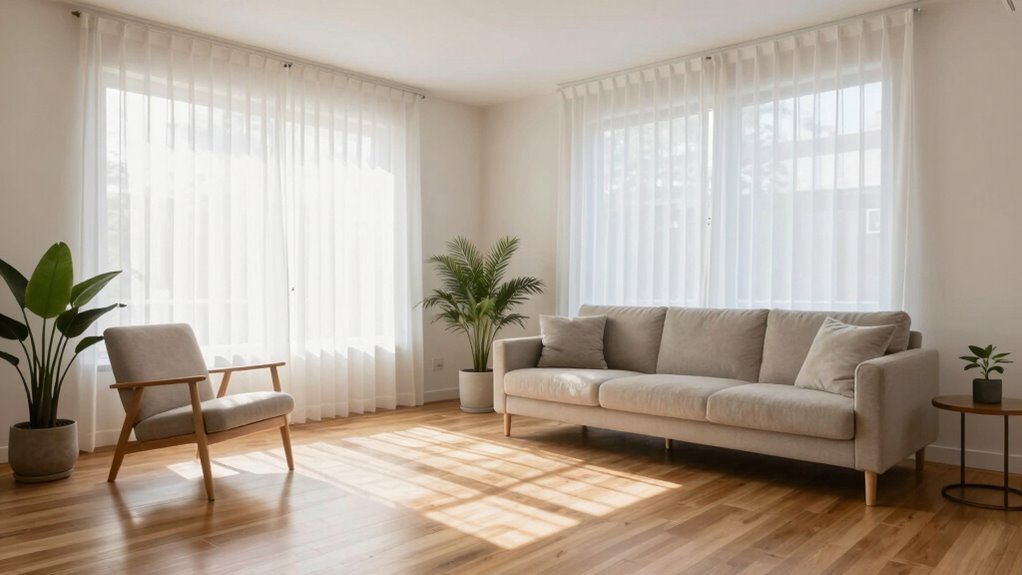
Lighting techniques are equally vital in creating a clean and inviting look. The goal is to maximize natural light while minimizing shadows and glare. Shoot during the golden hours—early morning or late afternoon—when sunlight is soft and warm, adding a welcoming glow to your footage. Avoid harsh midday sun, which can create unflattering shadows and overly bright spots. Use reflectors or diffusers if needed to soften light inside the home, ensuring rooms look bright and airy without overexposure. Consistent lighting across shots helps maintain a calm, cohesive tone, preventing the footage from feeling jarring or uneven. When filming interiors, turn on all available lights and open curtains to let in natural light, creating a bright and open atmosphere that feels inviting. Paying attention to lighting consistency across different shots can significantly enhance the overall professional quality of your footage. Additionally, understanding how lighting techniques influence the mood and perception of space can help you craft more compelling visuals. Properly controlled lighting can also reduce the need for extensive post-production corrections, making the editing process smoother. Incorporating lighting adjustments during filming can help ensure a seamless look across all footage. Moreover, understanding the impact of lighting conditions can help you avoid common pitfalls and produce footage that truly stands out.
To keep your footage professional-looking, pay attention to framing and composition. Use clean lines and avoid clutter in the shot. Keep the camera steady, employing tripods or stabilizers if possible. When editing, trim any shaky or distracting clips, and apply subtle color correction to ensure the footage has a uniform, polished look. Be mindful of reflections and glare, especially when filming windows or shiny surfaces. Adjusting angles slightly can prevent unwanted reflections from distracting viewers. Remember, framing and composition are fundamental to creating visually appealing footage that highlights the property’s best features. In the end, combining thoughtfully planned drone angles with strategic lighting techniques results in property footage that is not only visually appealing but also communicates a sense of calm and professionalism. Your goal is to craft visuals that make viewers feel comfortable, confident, and enthusiastic to learn more about the property. With precision and care, your footage can truly stand out in a competitive market.

DJI RS 3 Mini, 3-Axis Gimbal Stabilizer for Cameras Canon/Sony/Panasonic/Nikon/Fujifilm, 2 kg (4.4 lbs) Tested Payload, Camera Gimbal with Native Vertical Shooting, Black
795g (1.75lbs) Lightweight and Portable – DJI RS 3 Mini is an ultra-compact gimbal stabilizer for camera convenient…
As an affiliate, we earn on qualifying purchases.
As an affiliate, we earn on qualifying purchases.
Frequently Asked Questions
What Equipment Is Essential for Professional Property Footage?
You need a high-quality camera with wide-angle lenses to capture spaciousness and detail. A drone is crucial for stunning aerial footage, offering an all-encompassing view of the property. Stabilizers or gimbals ensure smooth shots, while proper lighting equipment helps create a calm, inviting atmosphere. Invest in a good tripod for ground shots, and consider filters to enhance clarity. These tools work together to produce professional, clean property footage.
How Do I Choose the Best Lighting for Property Shots?
You should prioritize natural light for property shots whenever possible, as it creates a soft, inviting atmosphere. Choose times like early morning or late afternoon for warm, even lighting. Adjust the color temperature on your camera to match the light source; warmer tones enhance coziness, while cooler tones feel modern and fresh. Use reflectors or diffusers to control harsh shadows and guarantee your footage looks clean, calm, and professional.
What Editing Software Enhances Property Video Quality?
You should use editing software like Adobe Premiere Pro or DaVinci Resolve to enhance your property videos. These tools excel at color grading, helping you achieve a clean, calm, and professional look. Plus, they allow you to improve sound design, ensuring clear audio that complements your visuals. By carefully adjusting colors and refining audio quality, you’ll make your property footage more appealing and polished, engaging your viewers effortlessly.
How Can I Stabilize Footage During Filming?
Ever wonder how to keep your footage steady during filming? You should use a gimbal or stabilizer to achieve smooth drone shots and maintain stable camera angles. Planning your shots carefully helps, too—think about your movement before recording. Keep your camera close to your body, and avoid sudden motions. This way, your property videos will look polished, calm, and professional, engaging viewers with seamless, stabilized visuals.
What Are Common Mistakes to Avoid in Property Videography?
You should avoid poor camera angles that distort the space and worsen lighting challenges, making rooms look awkward or uninviting. Keep your shots level and straight, and choose angles that showcase the property’s best features. Don’t neglect lighting; guarantee natural light is maximized and supplement with soft artificial lighting as needed. Steer clear of cluttered shots, and always check your framing to maintain a clean, professional look.

Drone with 1080P Camera – Foldable Remote Control Quadcopter with Gesture Control, 3D Flip, One Key Start, Emergency Stop, 2 Batteries, Easier to use, Toy for Kids Adult Beginners
📷【Drone with Camera】 Equipped with a 1080P HD 80°adjustable lens, the drone not only assists you in catching…
As an affiliate, we earn on qualifying purchases.
As an affiliate, we earn on qualifying purchases.
Conclusion
To make your property footage look clean, calm, and professional, focus on simplicity, consistency, and clarity. Keep your shots steady, use natural lighting, and avoid clutter. Pay attention to framing, color, and sound to create a cohesive and inviting feel. Remember, less is more—let the property speak for itself. By maintaining these principles, you’ll craft footage that’s not only visually appealing but also compelling and memorable. Keep practicing, stay intentional, and elevate your property videos with confidence.
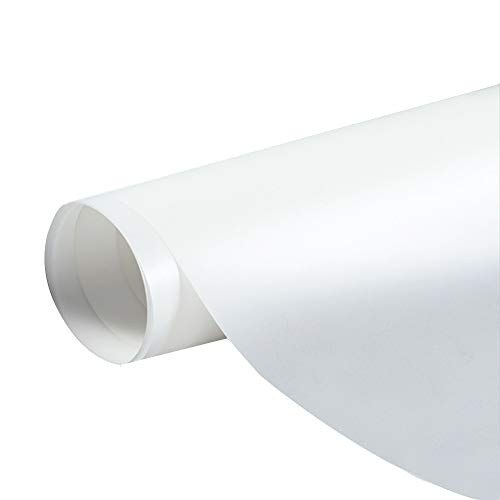
Diffusion Film Filter Sheet 6 Packs Kit 15.7×19.6inches/ 40x50cm Lighting Gel Diffuser Roll Photography Video for Led Flash Strobe Light
Diffusion Gel Filters: Designed to alter the shadow characteristics or the beam shape of light.Itcan be used by…
As an affiliate, we earn on qualifying purchases.
As an affiliate, we earn on qualifying purchases.

Torjim Softbox Photography Lighting Kit, 16'' x 16'' Professional Softbox Lighting Kit with 85W 3000-7500K LED Bulbs, Studio Lights for Photography/Video Recording/Live Streaming/Portraits Shooting
【Illuminate Your Creativity】 Torjim softbox lighting kit is made of high-quality PET fabric and a foldable nylon cover,…
As an affiliate, we earn on qualifying purchases.
As an affiliate, we earn on qualifying purchases.