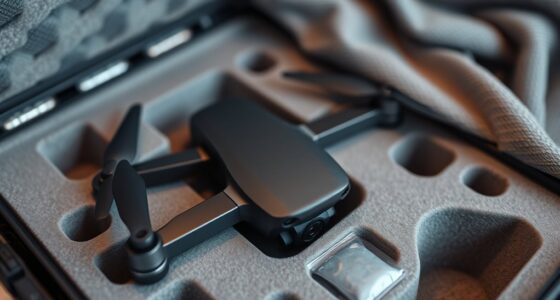

After a crash, you’ll need to assess the damage carefully to decide if you can fix it yourself or should seek professional help. Minor issues like bent propellers or lens cleaning are usually manageable with basic tools, but problems involving batteries, internal electronics, or motors often require expert repair to avoid further damage or safety risks. If you’re unsure about the extent of damage, continuing with expert advice can help you make the safest choice.
Key Takeaways
- Assess crash damage carefully to determine if repairs are minor (DIY) or require professional expertise.
- Handle and dispose of damaged lithium-polymer batteries safely to prevent hazards.
- Replace bent or broken propellers promptly, following proper installation procedures for safety.
- Use professional repair services for internal electronics or motor damage beyond basic fixes.
- Prioritize safety by ensuring all repairs are correctly performed before flying again.

When your car sustains damage from a collision, understanding the basics of crash repair can help you make informed decisions. While this advice is tailored more toward vehicles, the principles apply to your drone as well. If your drone crashes, evaluating the damage accurately is the first step. For minor issues, you might consider a DIY fix, but larger problems often require professional repair. Knowing when to do it yourself and when to seek expert help can save you time, money, and frustration.
One critical aspect of drone repair is battery safety. Drone batteries, especially lithium-polymer types, are sensitive and can pose safety hazards if mishandled. If your drone’s battery appears swollen, punctured, or damaged, it’s best not to attempt repairs yourself. Mishandling a compromised battery can lead to fire or chemical leaks. Always store damaged batteries in a fireproof container and seek advice from professionals or the manufacturer. Proper disposal is equally important, as damaged batteries shouldn’t be thrown in regular trash. When replacing a battery, ensure you use an exact match recommended by the manufacturer, and handle it carefully during installation. This reduces the risk of short circuits, overheating, or other safety issues.
Handle damaged drone batteries carefully; store in fireproof containers and seek professional advice for safe disposal.
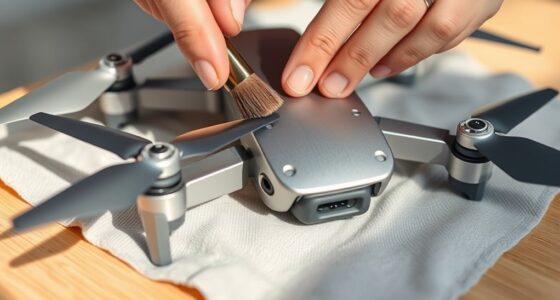
Propeller replacement is another common repair task, especially after a crash. If your propellers are bent, cracked, or broken, replacing them is straightforward but must be done correctly. Improper installation can affect flight stability and safety. Always power off the drone before replacing propellers, and use the proper tools. Check the manufacturer’s instructions for torque specifications; overtightening can damage the motor mount, while under-tightening can cause propeller detachment mid-flight. If you’re unsure, consulting a professional can ensure the job’s done right, preventing further damage or accidents.
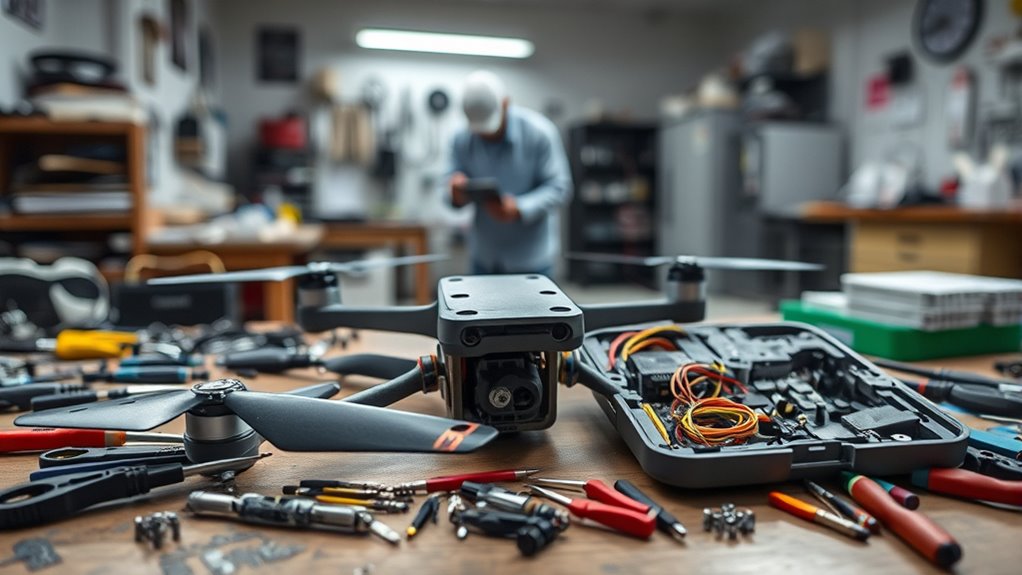
Deciding whether to repair your drone yourself or take it to a professional depends on your skill level and the extent of the damage. Minor repairs like replacing propellers or cleaning the camera lens are manageable for most hobbyists. However, dealing with internal electronics or damaged motors requires expertise. If you’re uncomfortable handling delicate parts, or if the damage affects the drone’s core functions, professional repair services are your best bet. They have specialized tools and experience to diagnose issues accurately and ensure your drone is safe and fully operational. Additionally, understanding crash damage assessment can help you determine whether a DIY fix is feasible or if professional intervention is necessary.
Frequently Asked Questions
How Long Does It Typically Take to Repair a Drone After a Crash?
It usually takes anywhere from a few hours to several days to repair your drone after a crash, depending on repair timeframes and parts availability. If you have quick access to replacement parts and the repair is simple, you might finish within a day. However, if parts are backordered or the damage is extensive, it could take a week or more. Planning ahead helps guarantee a smoother, faster repair process.
What Are the Common Signs Indicating Professional Repair Is Necessary?
If your drone’s performance suddenly drops by 30% or more, it’s a sign you need professional repair. Watch out for battery damage, which can cause overheating, or motor malfunction, leading to erratic movements. These issues often require specialized tools and expertise. If you notice inconsistent flight patterns or strange noises, don’t delay—consult a pro to guarantee safety and prevent further damage.
Can DIY Repairs Void My Drone’s Warranty?
Yes, doing DIY repairs can jeopardize your drone’s warranty, as many manufacturers have strict repair policies. If you open the drone or make unauthorized fixes, warranty implications often arise, meaning you might lose coverage for future issues. Always check your warranty details before attempting repairs, and consider professional repair options to ensure your warranty remains intact and your drone stays protected.
What Safety Precautions Should I Take During DIY Drone Repairs?
When doing DIY drone repairs, you should prioritize safety by handling the battery carefully, avoiding punctures or exposure to heat. Always sterilize your tools before use to prevent dirt or debris from damaging delicate components. Wear safety goggles to protect your eyes and work in a well-ventilated area. Disconnect the battery before starting, and keep a fire extinguisher nearby in case of emergencies. Taking these precautions helps keep you safe and your drone in top condition.
Are There Specific Tools Required for Effective Drone Crash Repairs?
Yes, you’ll need specialized tools and repair kits for effective drone crash repairs. These include mini screwdrivers, tweezers, soldering irons, and plastic pry tools, designed specifically for delicate drone components. Using the right repair kits guarantees you can handle small parts safely and accurately. Investing in quality tools makes your repair process smoother, reduces the risk of further damage, and helps you restore your drone to peak flying condition efficiently.
Conclusion
Remember, whether you choose a DIY fix or a professional repair, your drone’s journey mirrors your own. A crash may shake its wings, but it also offers a chance to rebuild stronger and wiser. Like a phoenix rising from the ashes, every repair is a rebirth—an opportunity to learn, grow, and reach new heights. Embrace the process, and your drone will soar again, carrying not just its payload but the resilience you’ve nurtured along the way.