To set up a DIY FPV race course, start by designing obstacles that match your drone’s speed and maneuverability. Use gates sized to your drone’s handling and choose materials that are safe and visible. Incorporate lighting to improve visibility in low-light conditions and differentiate sections with colors or patterns. Balance challenge and safety by gradually increasing difficulty, ensuring ample space between obstacles. Keep refining your layout to boost your skills—continue exploring for more tips to elevate your course setup.
Key Takeaways
- Select obstacle sizes and gate dimensions based on drone weight and handling capabilities for safe navigation.
- Incorporate varied obstacle designs and placement to match drone speed, maneuverability, and skill level.
- Use bright LED lighting to outline the course, improve visibility, and simulate real race conditions.
- Gradually increase obstacle difficulty and complexity to match the pilot’s improving skills.
- Ensure safe spacing and forgiving obstacle features to promote confident, safe flying practice.
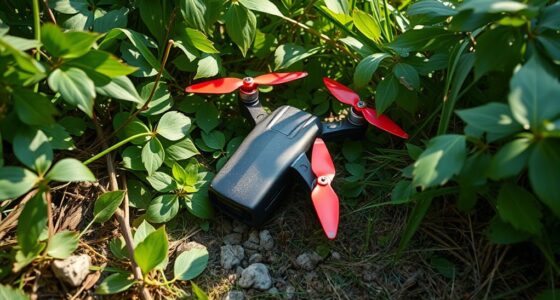
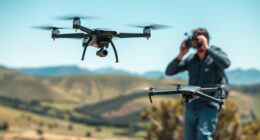
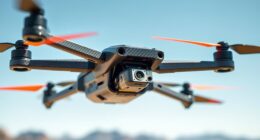
Building your own FPV race course is an exciting way to improve your flying skills and enjoy the thrill of drone racing. To create an effective course, you’ll want to pay close attention to details like FPV drone specifications and race course lighting. Knowing your drone’s capabilities helps you design obstacles that challenge you without exceeding your craft’s limits. For example, if your FPV drone has a top speed of 60 mph and a nimble maneuverability profile, you can incorporate tighter turns and faster sections into your layout. Conversely, if your drone is newer or less powerful, opt for more forgiving obstacles, gradually increasing difficulty as you improve.
Design your FPV course with drone specs and lighting to challenge and improve your flying skills safely and effectively.
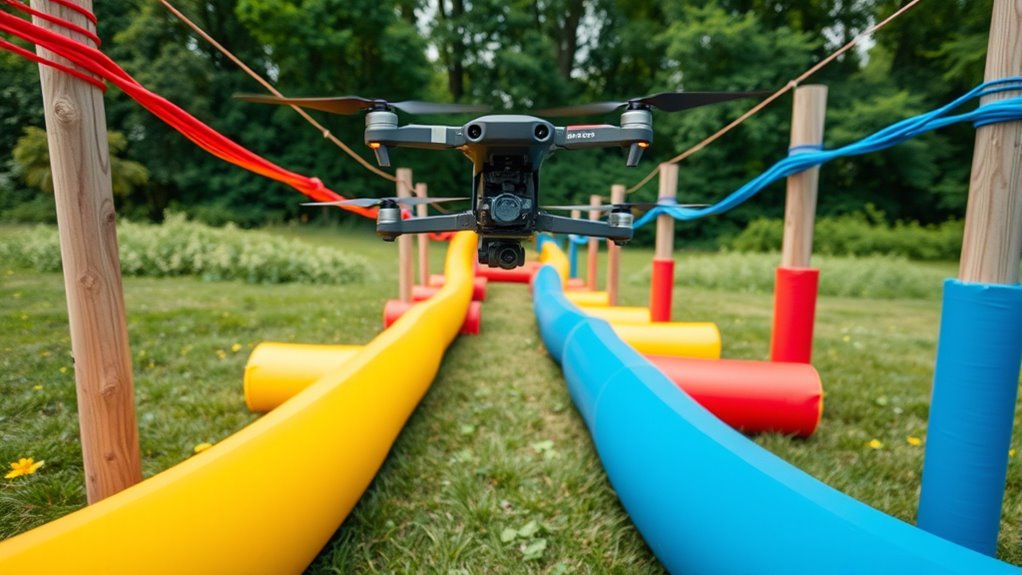
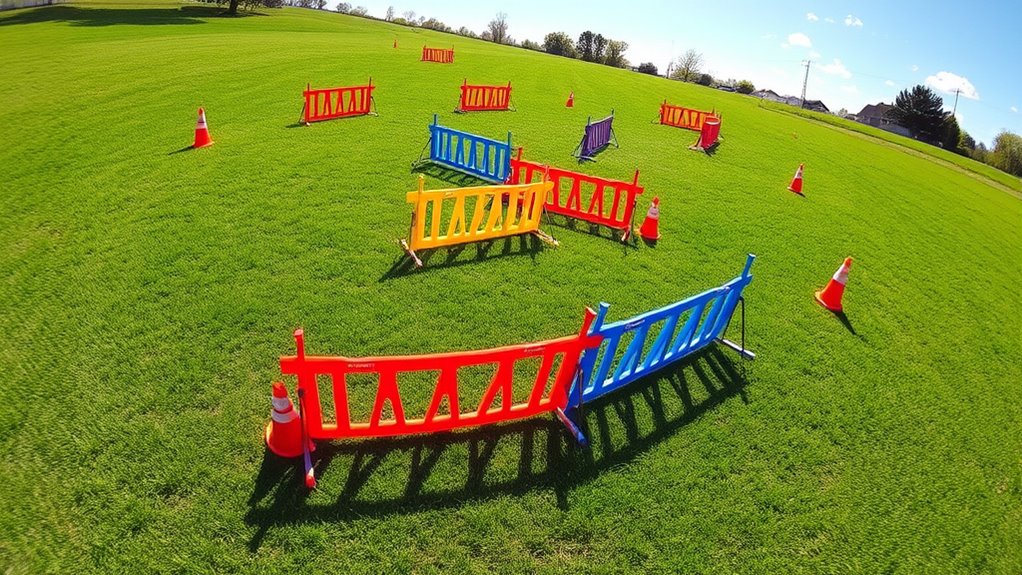
When setting up gates and obstacles, consider how your drone handles different types of challenges. Lightweight, agile drones respond well to narrow gates, but heavier models might need larger openings to avoid collisions. You should also factor in your FPV drone’s camera and video feed quality, ensuring your obstacle placement doesn’t obscure your view or create blind spots. This balance will help you maintain smooth, confident flights during practice.
Lighting plays a vital role in a DIY race course. Proper race course lighting enhances visibility, especially during low-light conditions or nighttime flying. Bright LED strips or floodlights can outline the course, making gates and obstacles stand out clearly against the background. Use different colors or patterns to differentiate sections or hazard zones, which aids in navigation and adds a professional touch. Also, ensure the lighting setup doesn’t cause glare or reflections that could distract or temporarily impair your vision while flying. Additionally, proper lighting design can help you simulate various racing conditions, preparing you for different environments and enhancing your overall flying skills.
Frequently Asked Questions
How Do I Ensure My Race Course Is Weather-Resistant?
To make your race course weather-resistant, start by applying weatherproof coatings on all materials to protect against rain and UV damage. Use wind-resistant structures for gates and obstacles, like sturdy frames anchored securely into the ground. Guarantee all connections are tight and sealed, and consider adding protective covers or tarps for extra protection during storms. Regularly inspect your course for wear and tear, and perform maintenance as needed to keep it durable.
What Safety Precautions Should I Take During Setup?
When setting up your race course, wear protective gear like gloves and goggles to prevent injuries. Establish a clear safety zone around the setup area, keeping spectators and novices at a safe distance. Always double-check your equipment and surroundings for hazards before starting. Communicate your safety plan to everyone involved, and stay alert during setup to avoid accidents. Prioritizing safety guarantees a fun, injury-free racing experience.
How Can I Customize Obstacles for Different Skill Levels?
Think of obstacle design like building a staircase—each step should match the climber’s skill. To customize obstacles for different skill levels, start with simple gates and wide turns for beginners. Gradually add tighter turns, lower or more complex obstacles, and varied materials for advanced pilots. This skill progression keeps practice challenging yet achievable, helping you improve steadily while maintaining fun. Adjusting obstacle difficulty guarantees your FPV race course grows with your abilities.
What Are the Best Materials for Lightweight Gates?
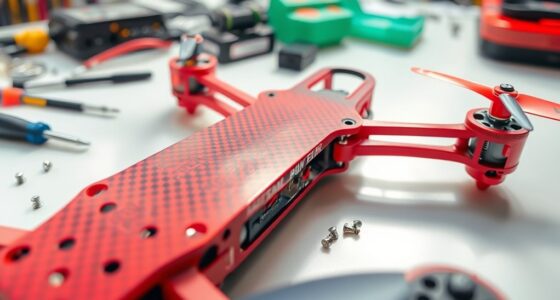
You should choose lightweight materials like PVC pipes, nylon mesh, or foam boards for your gates. These options offer durability while keeping weight considerations in mind, making setup easier and portable. PVC is especially popular because it’s sturdy yet light, and foam boards provide a soft, safe barrier. Avoid heavy metals or thick wood, as they add unnecessary weight and can make your gates less maneuverable for practice.
How Do I Maintain and Repair Damaged Course Elements?
Maintaining and repairing your course is like tending a garden—you need to regularly check for damage and act quickly. Inspect your course elements for cracks or loose parts, focusing on material durability. Use repair techniques like reinforcing weak spots with tape or replacing broken components. Keep spare materials handy, and when damage occurs, fix it promptly to prevent further deterioration and keep your course race-ready, ensuring smooth flights every time.
Conclusion
Now that you’ve built your race course with gates and obstacles, remember: practice turns chaos into control, and frustration into fun. Just like learning to ride a bike, at first, it’s wobbling and wiggling. But with each flight, you gain confidence and skill. So, embrace the bumps and crashes—they’re part of the journey. Your DIY course isn’t just about racing; it’s about pushing boundaries and having a blast, one flight at a time.