If your drone isn’t connecting to the controller, first make certain both devices are fully charged and power cycled to reset their systems. Double-check that you’ve correctly paired and bound the drone and controller following manufacturer instructions. Keep firmware and software up to date, and inspect hardware connections like cables and antennas for damage. Also, avoid interference from Wi-Fi, Bluetooth, or other electronics nearby. Having these steps in mind will help you troubleshoot more effectively and get flying again.
Key Takeaways
- Ensure both drone and controller are fully charged and power cycled before attempting to connect.
- Follow manufacturer instructions carefully to bind the drone and controller, keeping devices close during pairing.
- Check for firmware updates and ensure software compatibility across devices for seamless communication.
- Inspect and replace damaged cables, antennas, or ports to maintain strong signal integrity.
- Minimize environmental interference by flying away from Wi-Fi, Bluetooth devices, and metal structures.
Ensuring Proper Battery Power and Power Cycling
Ensuring your drone and controller have sufficient power is essential for a stable connection. Start by fully charging both batteries before attempting to connect. Low or depleted batteries can cause connection failures or intermittent signals. If you’re experiencing issues, try power cycling your devices; turn them off, wait a few seconds, then turn them back on. This resets the system and can resolve minor glitches. Check that your controller powers on properly and isn’t showing charging issues, as a controller that won’t turn on directly impacts connectivity. Using fresh, fully charged batteries prevents power-related disruptions. Regularly inspect batteries for damage or swelling, replacing them if needed. Proper power management strategies can help maintain consistent device performance and avoid connection issues. Additionally, ensuring your devices are kept within the recommended power capacity helps optimize overall performance and connection stability. Familiarity with your drone’s battery specifications can further assist in maintaining proper power levels and preventing connection problems. Being aware of battery health indicators allows you to identify potential issues before they affect your connection. Moreover, maintaining optimal battery storage conditions can prolong battery life and ensure reliable operation.
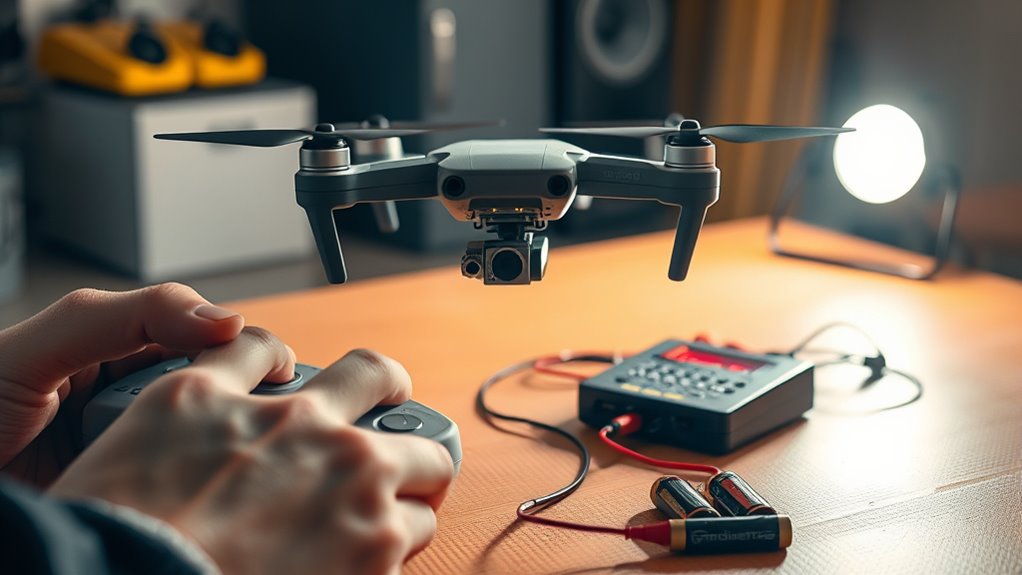
Correctly Pairing and Binding Your Drone and Controller
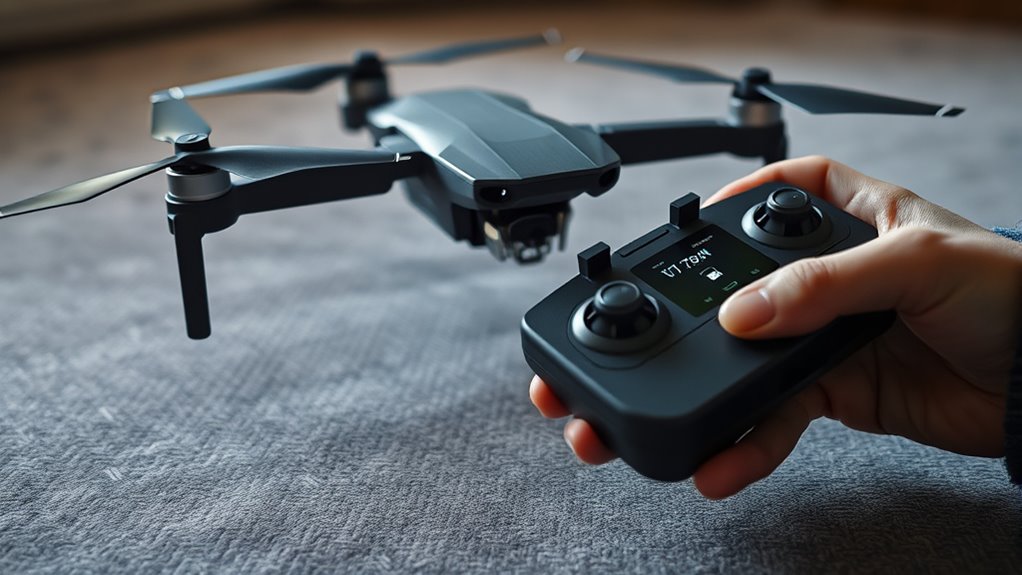
Proper pairing (binding) between your drone and controller is the key to establishing a reliable connection. Follow the manufacturer’s instructions carefully, as methods vary across models. Typically, you press and hold a physical bind button on both the drone and controller until indicator lights change, signaling a successful link. Keep the drone and controller within 1-2 feet during this process to guarantee a strong signal. Confirm binding with LED indicators or controller responses, like color changes or beeps. Make certain both devices are powered on and fully charged before starting. Avoid interference from other signals and perform the binding in a quiet environment. Once paired, test the connection by gently moving away from the drone to verify stability before flight. Using energy-efficient hardware can help maintain a more reliable connection and extend device lifespan. Ensuring a secure initial setup can also prevent future connection issues and improve overall performance.
Updating Firmware and Managing Software Compatibility
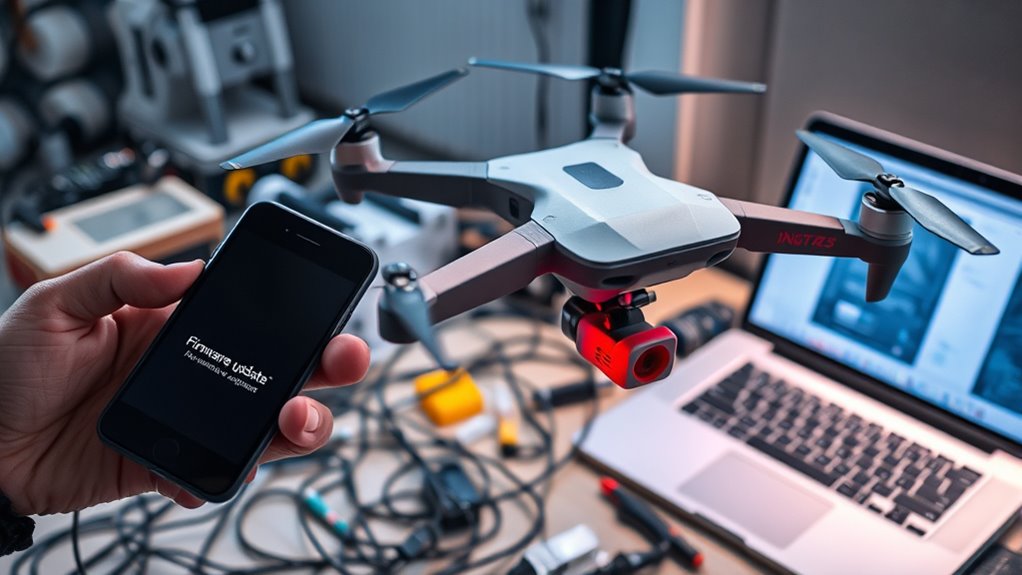
Keeping your drone’s firmware and software up to date is essential for maintaining a stable connection. Outdated firmware can cause compatibility issues, leading to connection failures or unstable links. Always check for the latest firmware versions from the manufacturer’s website or app, and update both your drone and controller accordingly. Verify your mobile device’s operating system and app are compatible with the latest firmware to avoid conflicts. Before updating, back up your settings if possible. Follow the manufacturer’s instructions carefully during the update process to prevent errors. If recent updates introduce problems, consider reverting to a previous firmware version. Regularly managing your software versions helps optimize connectivity, prevent glitches, and ensures your drone functions smoothly during flights. Additionally, keeping your software versions current can help you access new features and improvements that enhance overall performance. Staying informed about firmware release notes can also alert you to known issues and fixes that impact connection stability. Maintaining software compatibility with your devices is also crucial for avoiding connection disruptions. Discover Trusted Businesses and Services Near You to find official support and authorized service centers for firmware updates and troubleshooting. Regularly checking for updates and staying current minimizes the risk of connection issues caused by outdated software.
Conducting Physical Hardware and Connection Checks
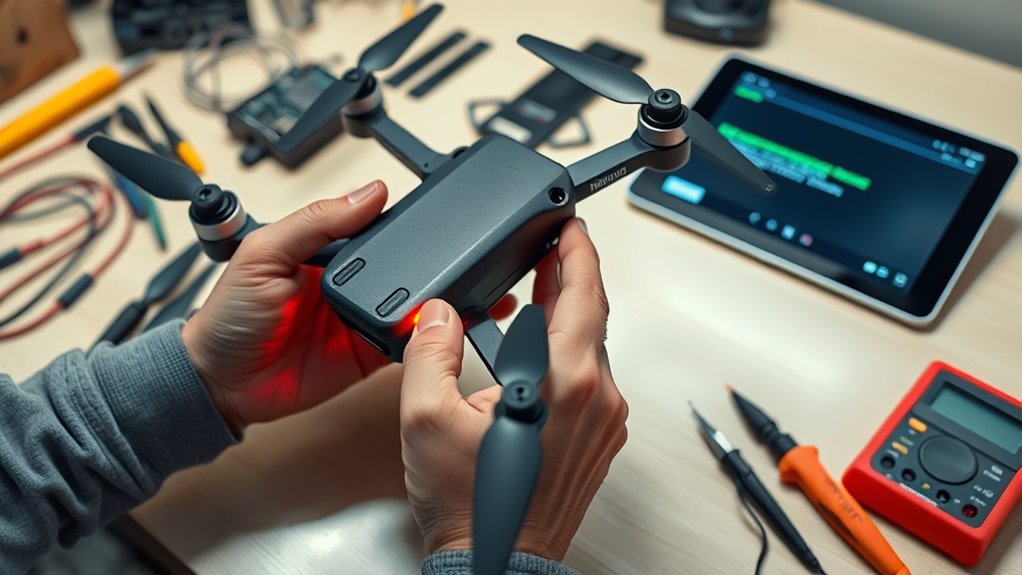
Before attempting to reconnect your drone, it’s important to verify that all physical hardware components are in good condition. Check USB cables and ports for damage, debris, or poor contacts, and use high-quality, data-capable cables rather than charging-only ones. Inspect antennas on both the drone and controller; they should be extended and properly oriented toward each other. Examine the drone’s ports and buttons for damage or dirt, and ensure internal components are intact. Look for physical damage to antennas, ports, or internal modules that could obstruct communication. Confirm that controller antennas are positioned correctly. If you notice any damaged cables or antennas, replace them immediately. Avoid obstructive cases when connecting via cables, and keep hardware clean to guarantee ideal signal transmission. Additionally, hardware integrity is crucial for maintaining a stable drone-to-controller connection.
Troubleshooting Signal Interference and Connection Failures
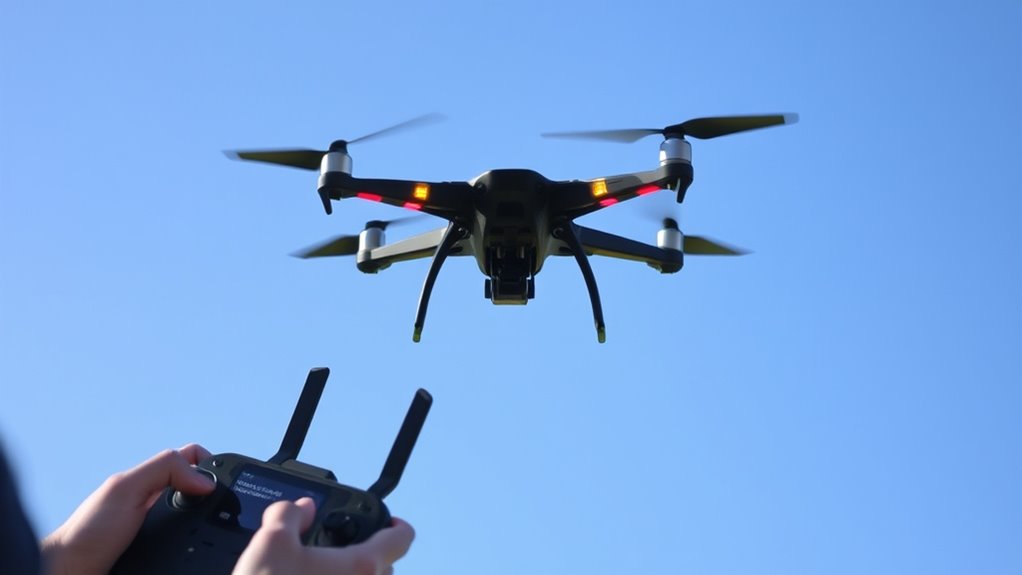
Signal interference is a common cause of connection failures during drone operation, especially in crowded or urban environments where multiple devices emit radio frequencies. To troubleshoot, start by relocating your drone and controller away from Wi-Fi routers, Bluetooth devices, and other electronics that can cause interference. Avoid flying near power lines, large metal structures, or dense crowds, as these can disrupt signals. Ensure you’re using the correct frequency band recommended by your drone’s manufacturer; switching channels may improve stability. Restarting both the drone and controller can clear temporary interference. Also, make sure antennas are properly extended and oriented toward each other. Proper antenna placement can significantly improve signal strength and connection stability. Reducing environmental noise and physical obstructions helps establish and maintain a reliable connection, preventing signal drops during flight.
Frequently Asked Questions
Can a Damaged Antenna Prevent My Drone From Connecting?
Yes, a damaged antenna can prevent your drone from connecting. The antenna is essential for transmitting and receiving signals between your drone and controller. If it’s broken, bent, or damaged, it weakens or blocks the signal, making it difficult or impossible to establish a stable connection. Check your antenna regularly for damage, and replace it if you notice any issues to ensure reliable communication and proper drone operation.
How Do I Reset the Drone and Controller to Factory Settings?
To reset your drone and controller to factory settings, first turn off both devices. Then, follow your specific model’s instructions—usually holding certain buttons or exploring through the app menu. For many drones, you press and hold the reset button or select “Restore Defaults” in the app. Afterward, turn them back on, and the devices should return to their original factory configurations, clearing any custom settings or pairing data.
Is There a Way to Test if My Controller’s Radio Module Is Faulty?
Yes, you can test if your controller’s radio module is faulty. First, try connecting it to a different drone or device to see if it pairs successfully. Next, perform a firmware update or reset to factory settings to eliminate software issues. If problems persist, use a multimeter or signal tester to check the radio module’s output. If no signal is detected, the module might be faulty, and replacing it could be the solution.
What Are Common Signs of a Failing USB Cable Affecting Connection?
You’ll notice a failing USB cable if your connection keeps dropping or won’t establish at all. Sometimes, the drone or controller won’t recognize the device, or you get inconsistent data transfer. If the cable feels damaged, frayed, or loose when plugged in, that’s a red flag. Using a high-quality, data-capable cable can help you test if the cable is causing the issue. If problems persist, swap cables to confirm.
Can Environmental Factors Like Weather Influence Drone-Controller Connectivity?
Yes, environmental factors like weather can impact your drone-controller connection. Rain, fog, or snow can weaken signals, causing intermittent or lost links. Wind and physical obstructions like trees or buildings may also interfere with radio frequencies, leading to connectivity issues. To improve your chances of a stable connection, operate your drone in clear, calm conditions, and keep the controller and drone within close range, avoiding obstacles whenever possible.
Conclusion
If your drone still won’t connect, don’t give up. Think of troubleshooting like untangling a complex knot — sometimes, you just need to take a step back and carefully work through each part. By checking your batteries, updating firmware, and ensuring solid hardware connections, you’ll clear the way for a smoother flight. Stay patient and methodical, and soon your drone will connect like a well-choreographed dance, ready to soar.