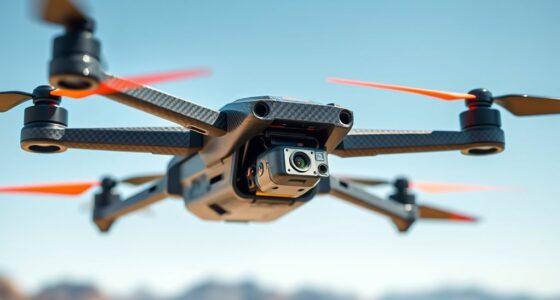
To build your first DIY drone, you need essential components like a frame, motors, ESCs, a flight controller, and a battery. Gather tools such as a soldering iron, screwdrivers, wire cutters, and a multimeter. Follow a step-by-step process: assemble the frame, attach motors, connect electronics, and calibrate the system. Choose lightweight, durable materials like carbon fiber, and guarantee safe electronics setup. Continue exploring to learn how to customize and perfect your drone build.
Key Takeaways
- Choose a suitable frame and lightweight materials like carbon fiber or plastic to balance durability and flight time.
- Select compatible motors and ESCs, ensuring they match in size and power ratings for reliable performance.
- Assemble the frame securely, mount motors with threadlocker, and solder wiring carefully for safe, efficient connections.
- Install and calibrate the flight controller, update firmware, and conduct pre-flight checks for stability and safety.
- Use proper tools, safety gear, and organized wiring practices to ensure a smooth build process and long-term drone durability.
Essential Components and Their Functions

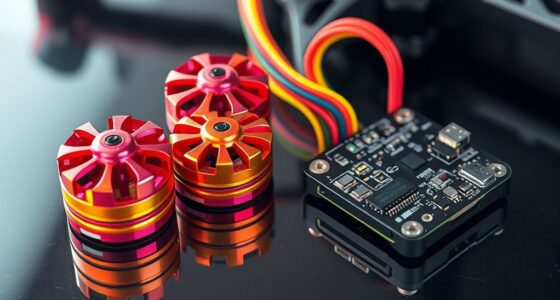
Building a DIY drone requires several key components, each serving a specific purpose to guarantee proper flight and stability. The frame acts as the main structure, influencing weight and durability. Motors, usually four for a quadcopter, generate thrust; choosing the right size ensures good lift and compatibility with ESCs. Electronic Speed Controllers (ESCs) regulate motor speed; they must match motor specifications for smooth control. The flight controller is the drone’s brain, managing stabilization and navigation; your choice impacts flight performance. The battery supplies power; its capacity and weight affect flight time and balance. Additionally, selecting energy-efficient components can extend flight duration and reduce overall power consumption, aligning with sustainable drone design principles. Proper component selection is crucial to avoid issues like overheating or power deficits, especially when considering different fuel choices and their impact on flight endurance. Understanding power management techniques can help optimize battery life and overall efficiency. Other factors such as aerodynamic design also play a significant role in flight stability and efficiency. This includes choosing components with energy-efficient performance to maximize flight time without increasing weight. Together, these components form the core of your drone, ensuring it can fly efficiently, respond accurately, and remain stable during operation. Proper selection establishes the foundation for successful building and flying.
Tools and Equipment for Assembly
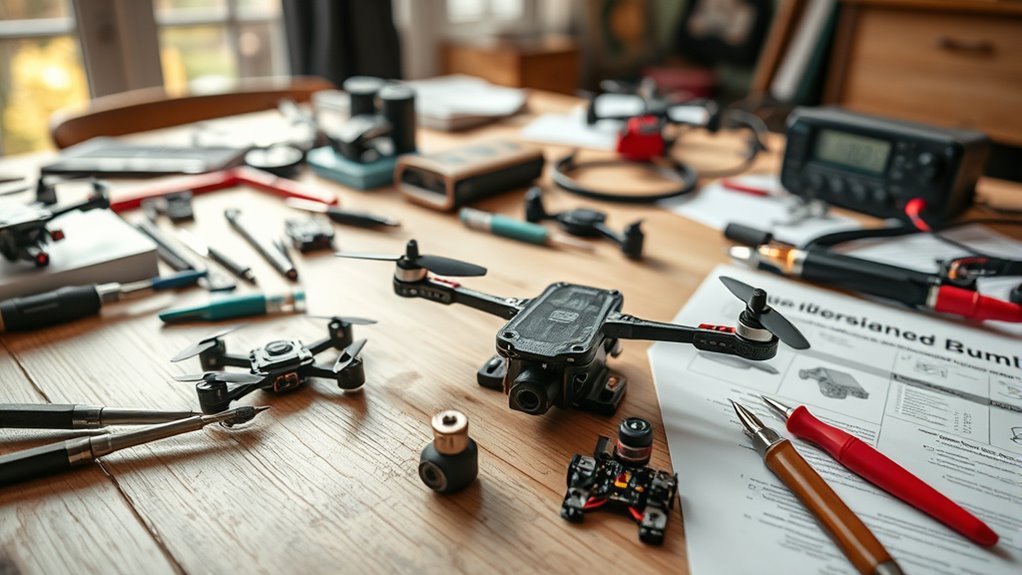
To assemble your DIY drone effectively, you’ll need a set of essential tools and equipment that guarantee precision and safety throughout the process. A soldering iron and solder are vital for making secure electronic connections, while screwdrivers—both hex and Phillips—are needed to mount motors and assemble the frame. Wire strippers and cutters help prepare wiring for clean, reliable connections. A multimeter allows you to test circuits and verify voltage levels, preventing electrical issues. An anti-static wrist strap protects sensitive electronics from static damage. Optional tools like helping hands assist with soldering stability, and a heat gun can help with heat-shrink tubing. Having these tools on hand ensures your build proceeds smoothly, safely, and with professional-quality results. Incorporating power tools and heavy-duty equipment techniques can also help in managing components and wiring more efficiently during assembly.
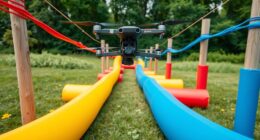
Step-by-Step Guide to Building Your Drone

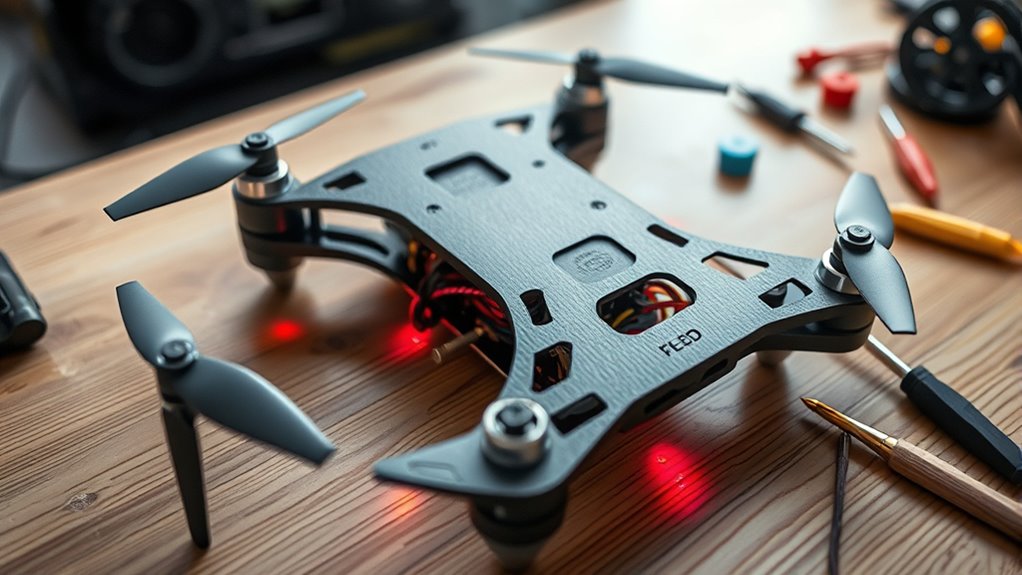
Start by assembling the frame according to your design or kit instructions, ensuring all parts fit securely. Use screws or bolts, tightening them properly to prevent loosening during flight. Once the frame is assembled, attach the motors to the designated arms, securing them with screws and threadlocker to prevent vibration loosening. Next, solder the motor wires to the ESCs, then connect the ESCs to the power distribution board and flight controller, organizing wiring neatly with zip ties. Install the flight controller and connect the receiver, verifying correct orientation and secure connections. Before attaching props, perform initial tests on motors and ESCs. To ensure proper operation, double-check all connections and wiring before proceeding. Finally, configure your flight controller software and calibrate ESCs. Always double-check connections and secure all components before your first test flight.
Design Choices and Material Selection
Choosing the right materials for your drone’s frame is essential for balancing weight, durability, and performance. Carbon fiber is lightweight, strong, and ideal for stable flight, but it can be costly. Plastic or 3D-printed parts are affordable and easy to customize, making them great for beginners, though they may be less durable. When selecting materials, consider your drone’s purpose—lighter materials improve agility, while more robust options enhance resilience against crashes. Keep in mind that material weight impacts flight time and maneuverability. Reinforcing your frame with zip ties or standoffs can improve durability without adding much weight. Ultimately, your choice should align with your experience level, budget, and desired flight characteristics, ensuring a solid foundation for your DIY drone. Material selection is a key factor that affects overall drone performance and longevity.
Configuring Electronics and Ensuring Safety

Before flying your DIY drone, it’s essential to properly configure its electronics and prioritize safety. First, calibrate your ESCs by following manufacturer instructions—this ensures motors respond accurately. Next, update and tune your flight controller firmware, like BetaFlight, to optimize stability and responsiveness. Additionally, performing a thorough pre-flight check helps identify potential issues before takeoff. Finally, bind your receiver to your transmitter, checking control signals and range. To keep everything safe, use threadlock on motor screws, wear safety goggles during soldering, and keep wiring neat with zip ties. Incorporating local automation features can also help monitor your drone’s status remotely and enhance safety during flight. Additionally, understanding thermal behavior is crucial for high‑heat environments, as it affects component performance and safety. Visualize these steps:
- Reaching into the drone to calibrate ESCs, hearing a click with each motor.
- Connecting your flight controller and updating firmware on your computer.
- Securing wires and attaching propellers last, ready for a test flight.
Following these steps ensures your drone operates safely and performs reliably.
Frequently Asked Questions
How Do I Choose the Right Drone Frame for My Skill Level?
You should choose a drone frame that matches your skill level by starting with a simple, lightweight design if you’re a beginner. Look for frames made from durable materials like plastic or beginner-friendly carbon fiber options. Avoid complex shapes or heavy frames until you gain more experience. Make certain the frame size fits your planned components and flying environment. As you improve, you can experiment with more advanced, custom frames.
What Are Common Troubleshooting Tips During Initial Motor Testing?
During initial motor testing, you should check if all motors spin correctly when powered on. If a motor doesn’t respond, verify the wiring connections and make sure the ESC is calibrated properly. Listen for unusual noises or vibrations, which might indicate mounting issues or damage. Use your multimeter to test voltage and signals. If problems persist, recheck your flight controller settings and ensure the receiver is properly bound.
How Can I Optimize Flight Time With Battery and Component Choices?
To optimize your drone’s flight time, choose a high-capacity, lightweight battery compatible with your motor and ESCs. Use efficient, low-drag propellers and keep your drone’s weight minimal by selecting sturdy yet light materials like carbon fiber. Confirm your motors are properly sized for your drone’s weight, and perform regular maintenance like balancing propellers. Proper tuning and reducing unnecessary payloads also help extend flight duration considerably.
What Software Tools Are Recommended for Tuning Drone Flight Performance?
You can’t tame a wild dragon without the right tools, and tuning your drone’s flight performance is no different. Use BetaFlight Configurator for precise control and firmware updates, and Blackbox Log Viewer to analyze flight logs. Betaflight’s PID tuning tab helps optimize stability and responsiveness, making your drone perform like a well-oiled machine. Regular firmware updates and parameter adjustments guarantee your drone stays sharp, responsive, and ready to conquer the skies.
Are There Legal Restrictions I Should Consider When Building a Drone?
You need to take into account legal restrictions before building your drone. Check FAA regulations if you’re in the U.S., including registration requirements for drones over 250 grams. Follow local laws about flying altitude, no-fly zones, and privacy rules. Some areas restrict drone use entirely, so always research your region’s laws. Complying with these rules helps you avoid fines or confiscation and ensures safe, legal flying.
Conclusion
Building your first DIY drone might feel like a leap into the unknown, but with the right components and guidance, you’re well on your way. Think of it as crafting your own flying chariot—like Da Vinci’s dreams taking flight. Stay patient, follow each step carefully, and don’t forget to double-check your electronics. Soon, you’ll be soaring through the skies, proud of your homemade creation. The sky’s the limit—so go ahead and make your drone dreams come true!