Capturing perfect straight-down drone photos is trickier than it looks because even small shifts in drone position or tilt can distort the perspective. Lighting conditions, shadows, and camera settings play big roles in image quality, and maintaining stability in the wind is a constant challenge. Precise control of both the drone and camera is essential, and mastering these techniques takes practice. Keep exploring, and you’ll discover how to overcome these common hurdles for better shots.
Key Takeaways
- Slight drone position shifts can distort perspective, making a perfect top-down shot difficult.
- Lighting conditions create shadows or highlights that obscure details in the image.
- Achieving a perpendicular camera angle requires careful control and precise drone positioning.
- Wind and movement can cause instability, leading to blurry or uneven photos.
- Proper camera settings and stabilization techniques are essential for high-quality straight-down images.
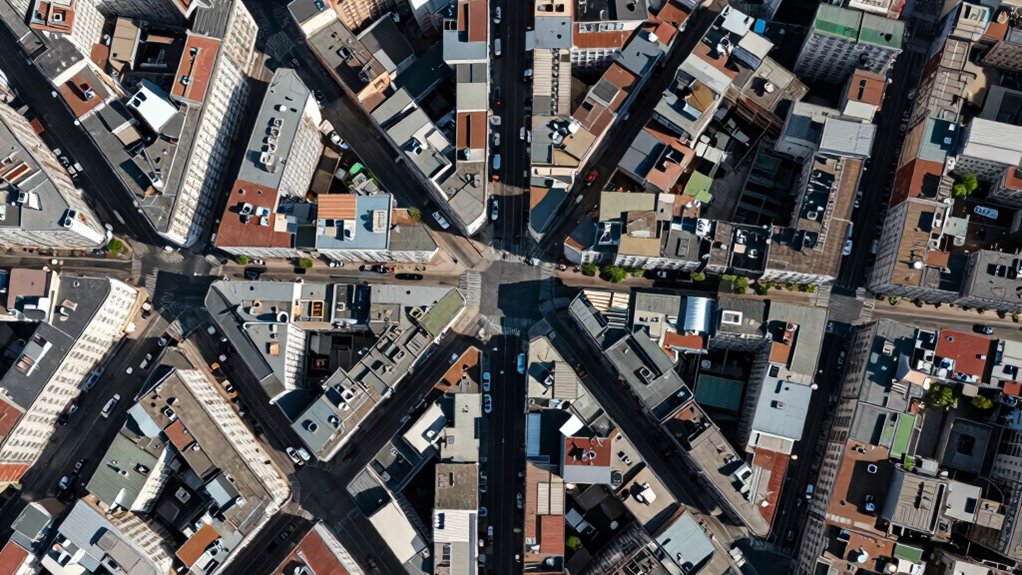
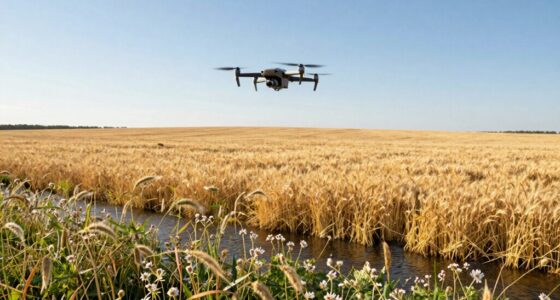
Capturing a perfect straight-down drone photo might seem straightforward, but in reality, it’s more challenging than it looks. One of the biggest hurdles is choosing the right camera angle. Even when you’re directly above your subject, slight shifts in the drone’s position can distort perspective, making the photo appear skewed or off-balance. You need to be precise with your altitude and positioning to get a true, flat top-down view. If your drone tilts slightly or if the camera isn’t perfectly perpendicular to the ground, the photo can end up looking distorted, which defeats the purpose of a clean, straight-down shot.
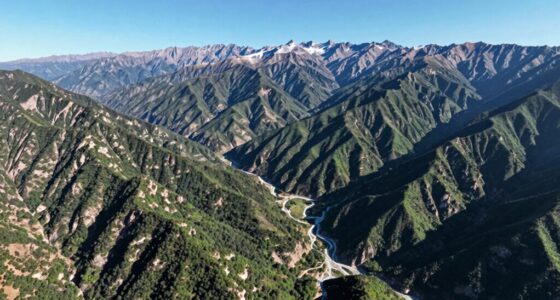
Lighting conditions play a huge role too. When you’re shooting from above, the way light interacts with the landscape or subject can create shadows or highlights that obscure details or introduce unwanted glare. Bright sunlight can cause harsh shadows, making the image look uneven or overly contrasty. On the other hand, low light or overcast conditions might result in dull, flat images lacking depth. To get a clear, crisp straight-down photo, you have to plan your shoot around ideal lighting—usually mid-morning or late afternoon when the sun’s angle minimizes shadows and glare. Even then, you need to be mindful of how the light hits the surface and adjust your drone’s position accordingly. Additionally, understanding drone camera settings** is essential to optimizing your shot quality. Properly managing camera settings allows you to adapt to changing conditions and avoid common pitfalls like overexposure or underexposure. Being familiar with exposure adjustments can further help you fine-tune your images to match the scene’s lighting conditions**.
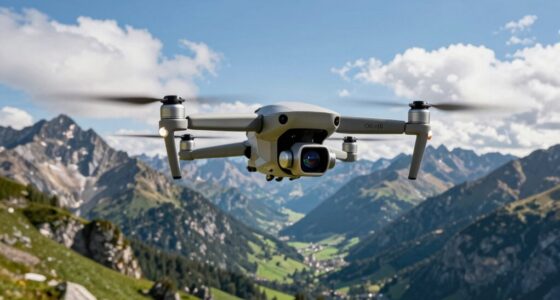
Achieving a perfect shot also involves understanding your drone’s camera settings. Manual adjustments to exposure, ISO, and shutter speed can make a significant difference in how well-lit and detailed your photo turns out. If the camera’s auto settings aren’t set correctly, you might end up with an image that’s either too bright or too dark. Additionally, being aware of dynamic range can help you capture more detail in both shadows and highlights, especially in high-contrast scenes. Furthermore, the stability of your drone during the shot is critical. Even minor wind gusts can cause slight shifts, resulting in blurry or skewed images. Using a gimbal helps stabilize your camera, but you still need to monitor your surroundings and keep the drone steady. Furthermore, understanding how to control your drone’s position can greatly improve the accuracy of your shot. Developing a steady hand and learning to anticipate drone movements also contribute greatly to shooting success. Practicing patience and making small adjustments during the flight can significantly enhance your chances of capturing a perfect top-down shot.

Camera Stabilizer, High Technology Drone Camera Gimbal Metal Brushless Gimbal Board BGC 2.2 for 3/3+ / 4 Camera RC Drone Quadcopter Part (Black) Gimbal Drone
[Ready-to-fly 12v Rtf Version] This complete rtf (ready-to-fly) gimbal comes fully assembled with all necessary components including screws…
As an affiliate, we earn on qualifying purchases.
As an affiliate, we earn on qualifying purchases.
Frequently Asked Questions
What Are the Best Drone Models for Straight-Down Photography?
You should consider drones like the DJI Mavic Air 2 or Autel EVO Lite+ for straight-down photography. These models offer excellent drone stability, ensuring sharp, clear shots from above. They also have impressive battery life, allowing you to capture more images without frequent recharges. Their precise controls and stable flight make it easier to get perfect vertical shots, even in challenging conditions.
How Do Weather Conditions Affect Straight-Down Drone Shots?
Weather conditions greatly impact your straight-down drone shots. Wind turbulence can cause instability, making it hard to keep the drone steady and resulting in blurry or skewed images. Cloud cover affects lighting, reducing contrast and detail, and can even obscure your subject. To get clear, sharp photos, fly in calm weather with minimal wind, and choose times when cloud cover is light or evenly dispersed for balanced lighting.
What Camera Settings Are Ideal for Top-Down Drone Photos?
You should set your drone camera to a high shutter speed to guarantee camera stability and sharpness, especially in windy conditions. Use an aperture that balances sharpness and depth of field, typically around f/5.6 to f/8. For lighting optimization, shoot during golden hour to avoid harsh shadows and overexposure. Adjust ISO as needed to maintain proper exposure without introducing noise. These settings help capture clear, well-lit top-down photos.
How Can I Avoid Distortion in Straight-Down Drone Images?
You can avoid distortion in straight-down drone images by ensuring proper camera stabilization to prevent blurring and misalignment. Use a lens with minimal distortion, like a tilt-shift or rectilinear lens, and avoid wide-angle lenses that exaggerate distortion. Keep the drone steady and perpendicular to the ground, and shoot at ideal angles. These steps help you capture true, distortion-free images, making your aerial photos sharper and more accurate.
What Safety Precautions Should I Take During Aerial Photography?
To guarantee safety during aerial photography, prioritize drone safety by conducting pre-flight checks and keeping a safe distance from people and property. Follow flight regulations closely, including altitude limits and no-fly zones. Always monitor weather conditions, avoid flying in strong winds or rain, and maintain visual line-of-sight with your drone. These precautions help prevent accidents, protect others, and keep your drone operations compliant with legal standards.

NEEWER 6 Pack ND Filter Set Compatible with DJI Mini 4K/2/Mavic/SE/2 SE, Drone Lens Accessories, Snap On CPL UV Neutral Density Filters ND4/ND8/ND16/ND32, Multi Coated HD Glass Gimbal Safe, FL-B31
【6 Pack Snap On Drone Lens Accessories】 The kit for your drone gear includes 4 x Neutral Density…
As an affiliate, we earn on qualifying purchases.
As an affiliate, we earn on qualifying purchases.
Conclusion
So, next time you try capturing a perfect straight-down shot, remember it’s like juggling fire—seems simple until you realize the delicate balance required. The terrain, wind, and your own steadiness all conspire to make this seemingly effortless shot a true test of skill. With patience and practice, you’ll tame the chaos and transform your drone’s downward gaze into a masterpiece. Keep flying high and stay persistent—your perfect shot is just a few adjustments away.
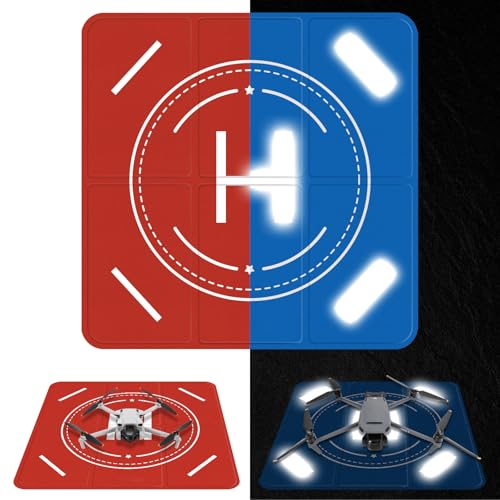
FPVtosky Nighttime Reflective Drone Landing Pad, Fast-fold Double Sided Waterproof Landig Pad Weighted for DJI Mini 5 Pro/ 4/3 Pro/Mini 4k / Mavic 4 / Air 3s/ Avata 2/ Neo/Flip
Waterproof & Easy to Clean: The landing pad is made of high-quality double-sided PU leather, waterproof and dustproof,…
As an affiliate, we earn on qualifying purchases.
As an affiliate, we earn on qualifying purchases.

G11PRO 6K Drone with Camera for Adults, 4K/30fps Video, 3-Axis Brushless Gimbal, 70mins Flight Time with 2 Batteries, 10000ft Long Range, FAA compliance, Professional Drone with Auto Return
【𝗜𝗡 𝗦𝗘𝗔𝗥𝗖𝗛 𝗢𝗙 𝗧𝗛𝗘 𝗜𝗗𝗘𝗔𝗟 𝗙𝗟𝗜𝗚𝗛𝗧, 𝗖𝗔𝗣𝗧𝗨𝗥𝗘 𝗬𝗢𝗨𝗥 𝗔𝗘𝗥𝗜𝗔𝗟 𝗠𝗢𝗠𝗘𝗡𝗧𝗦】Are you spending more for better aerial footage or…
As an affiliate, we earn on qualifying purchases.
As an affiliate, we earn on qualifying purchases.